
Manchild at Play: Paint Your Own Gromit Redux (Dick Dogstardly the “Bad Dog”)
At the beginning of the year I wrote about a Paint-Your-Own Gromit model I did up in the style of Peppa Pig. What I didn’t mention in that post was that I had actually bought two models – one for my relative, and one for me. The reason for this was because I really liked the notion that every person who painted a Gromit did their own thing; some people painted him up like another character from a different franchise, some went for something original.
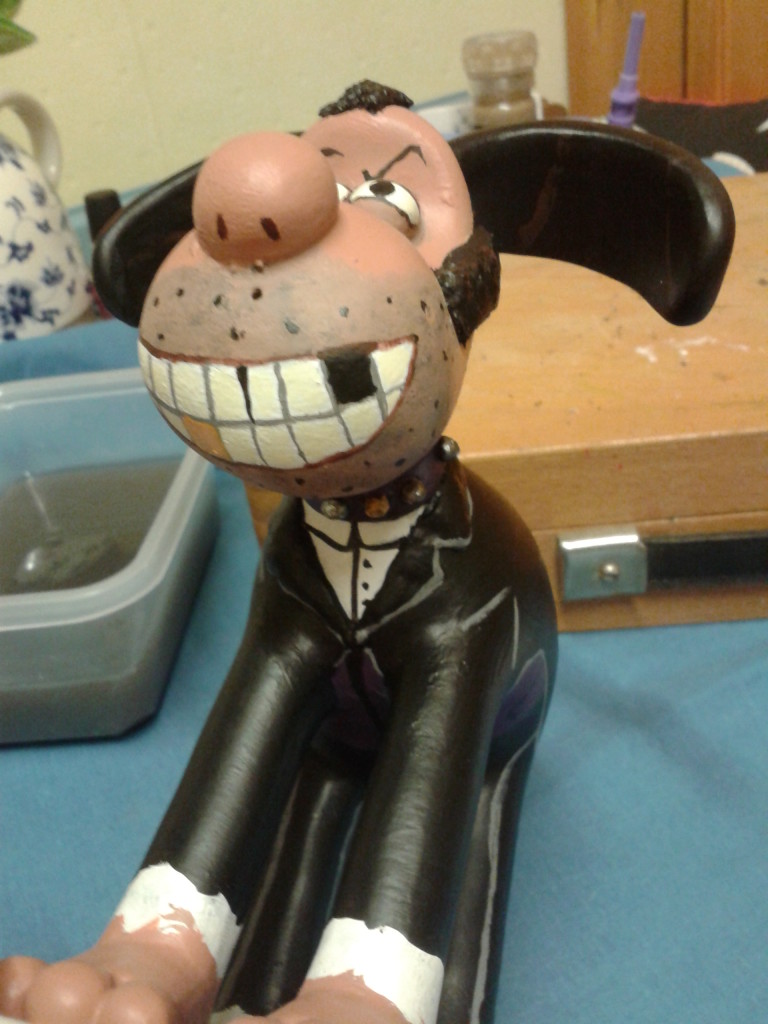
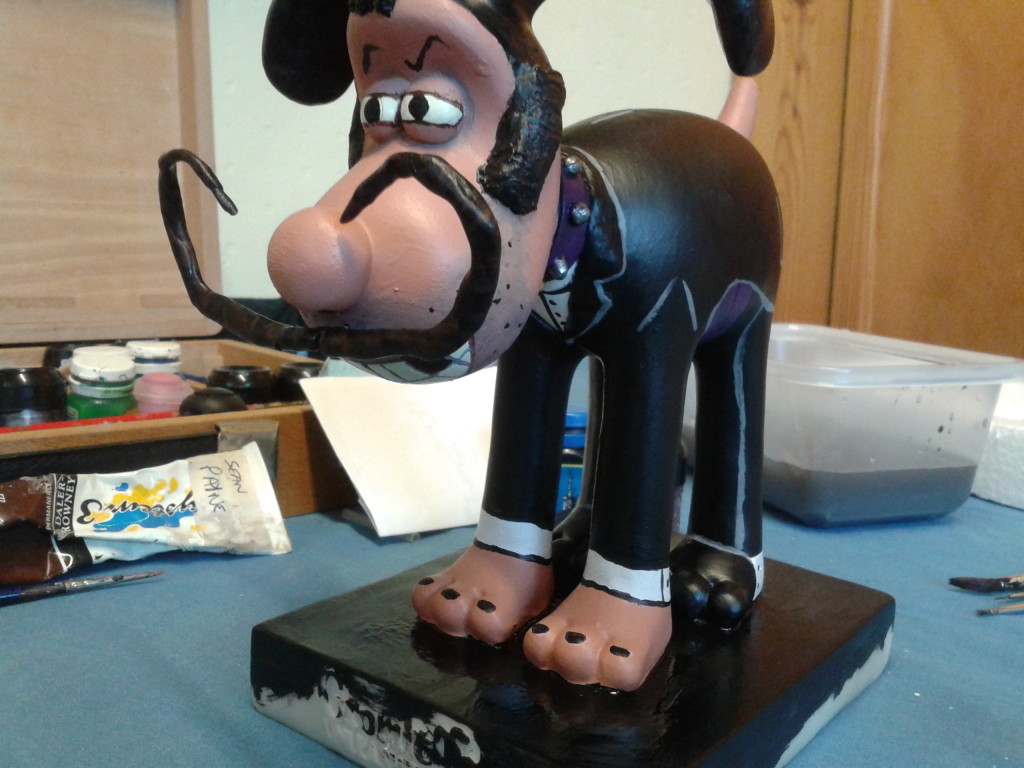
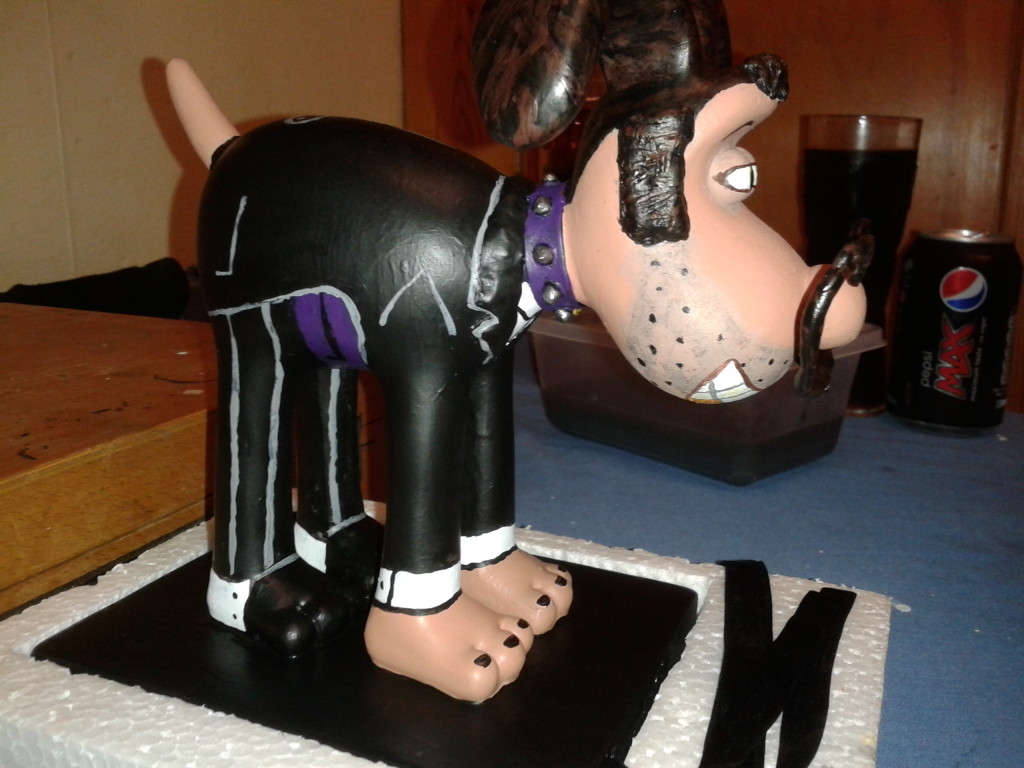
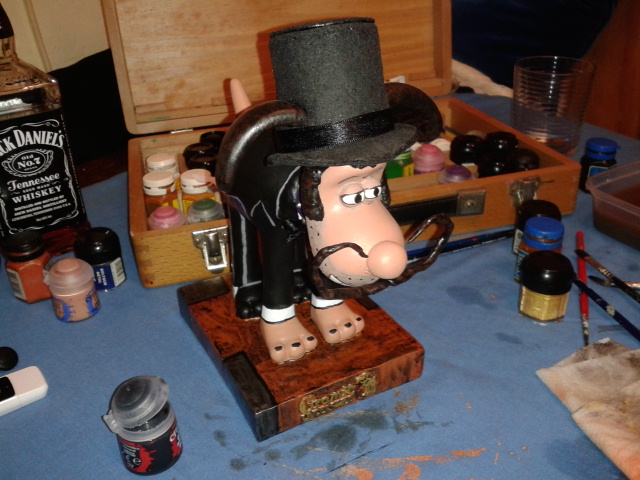
I already knew what I wanted to do from the outset. Being a big fan of villains, it made sense in my head to create the most rottenest Gromit of all – Dick Dogstardly, a moustache-twirling, black-suited trickster! The end goal was a figure somewhere between classic melodrama villains, Dick Dastardly, Professor Fate, Snidely Whiplash and Terry Thomas.
Unlike the last model (which was basically just two different shades of pink with a tutu) this one took the better part of a year. In comparison, Peppa Pig Gromit took about two weeks! I’d like to thank my parents for their help and for lending me their kitchen to work in for a good chunk of weekends this year.
I present below the entire design and painting process.
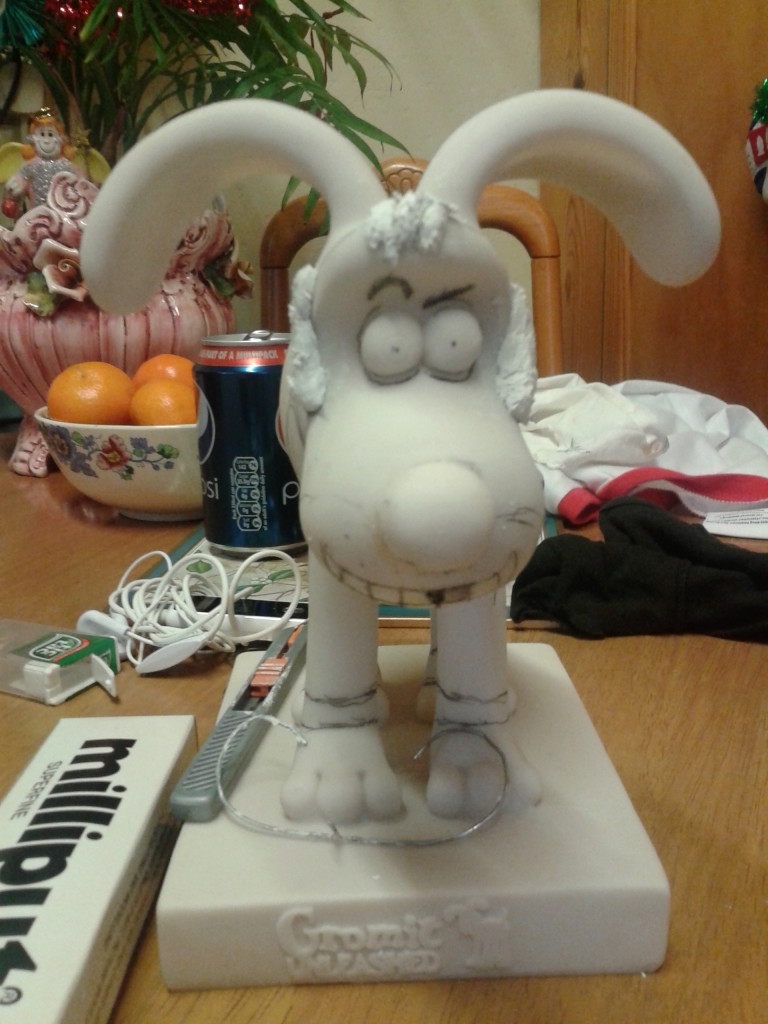
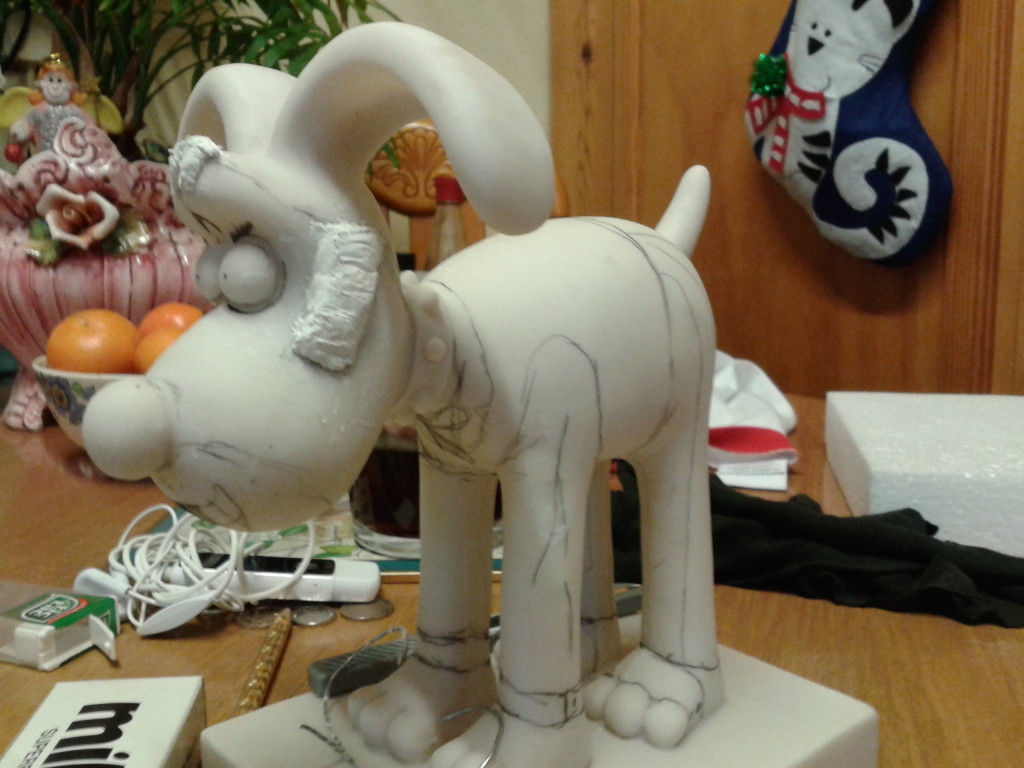
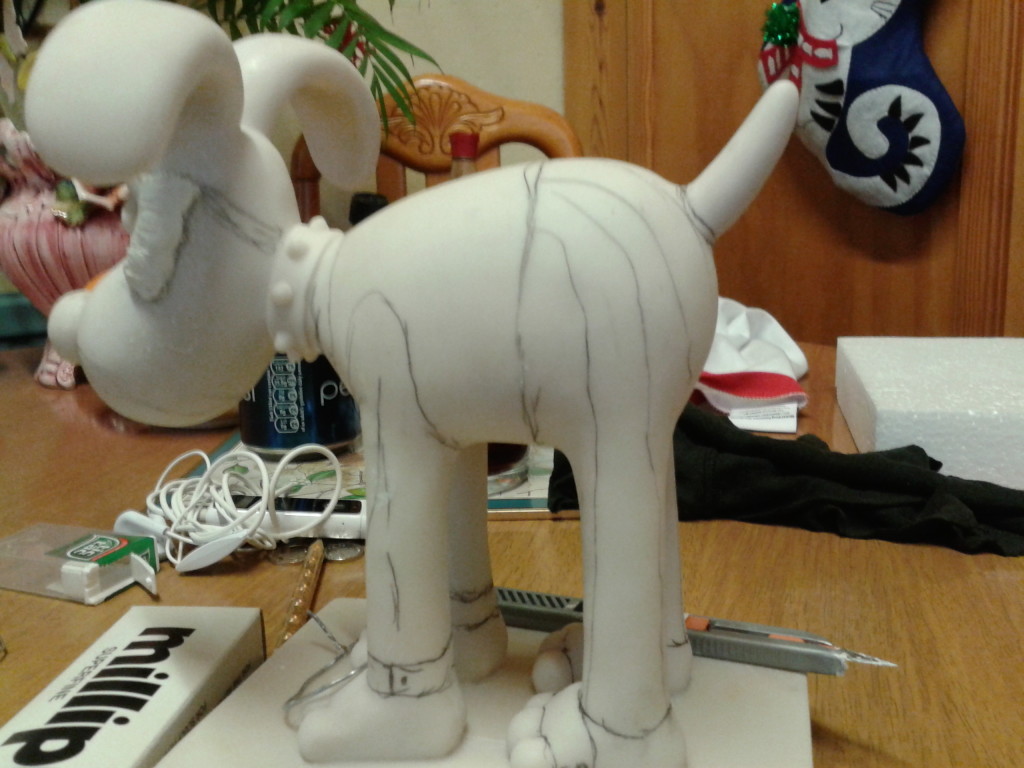
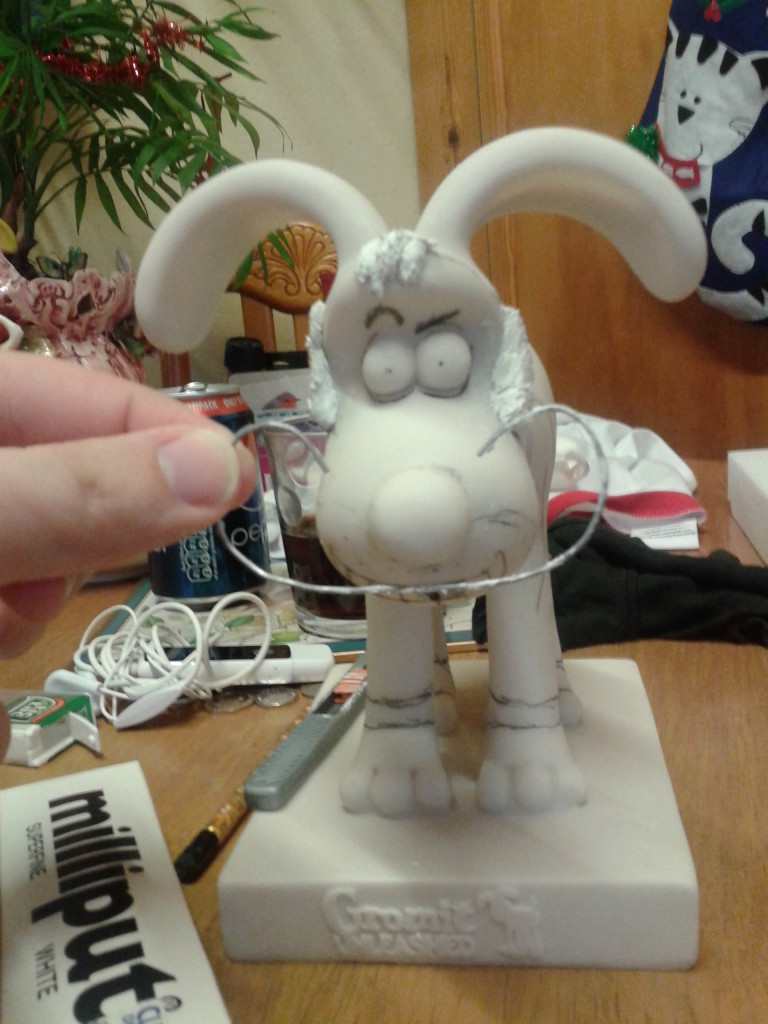
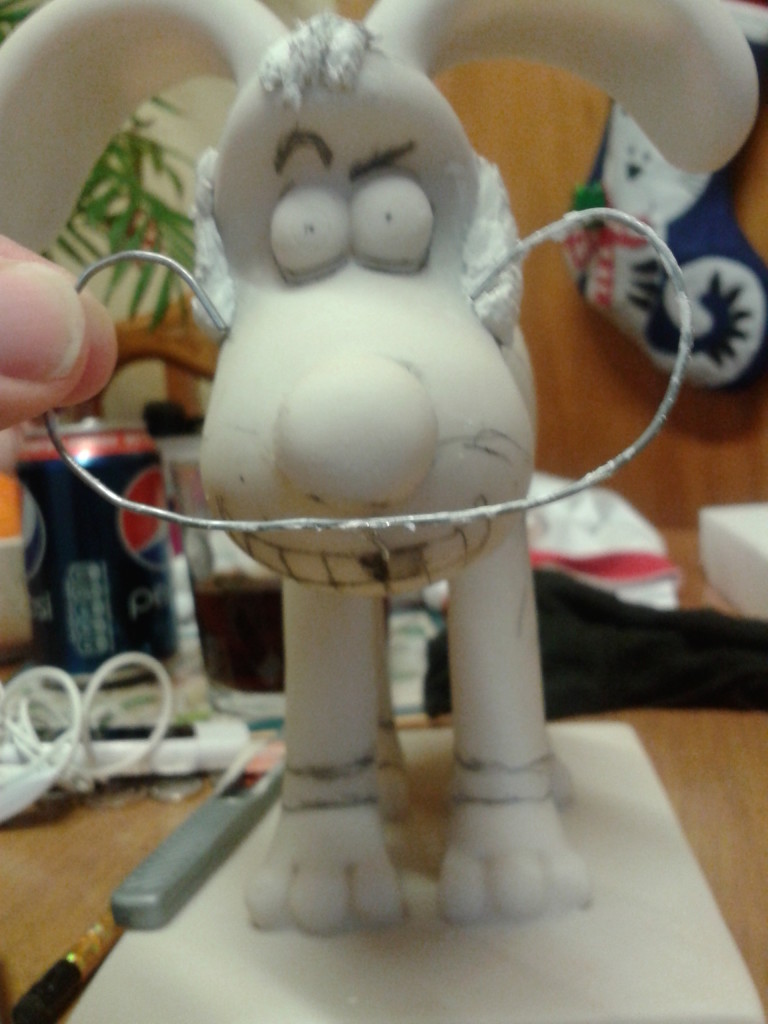
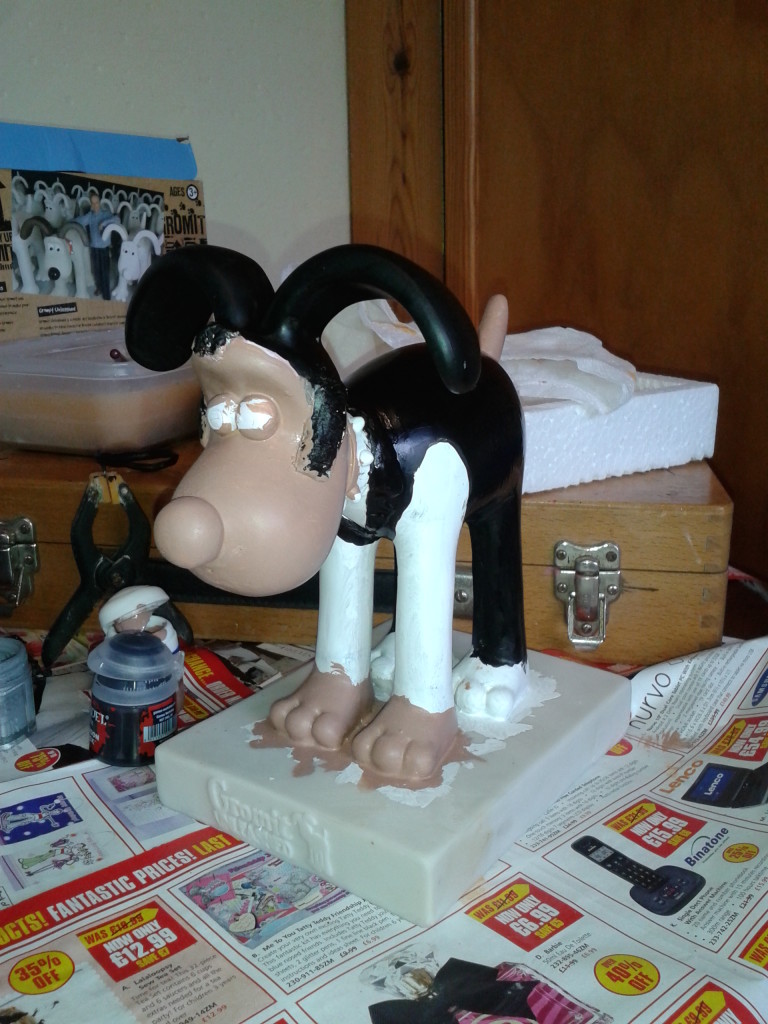
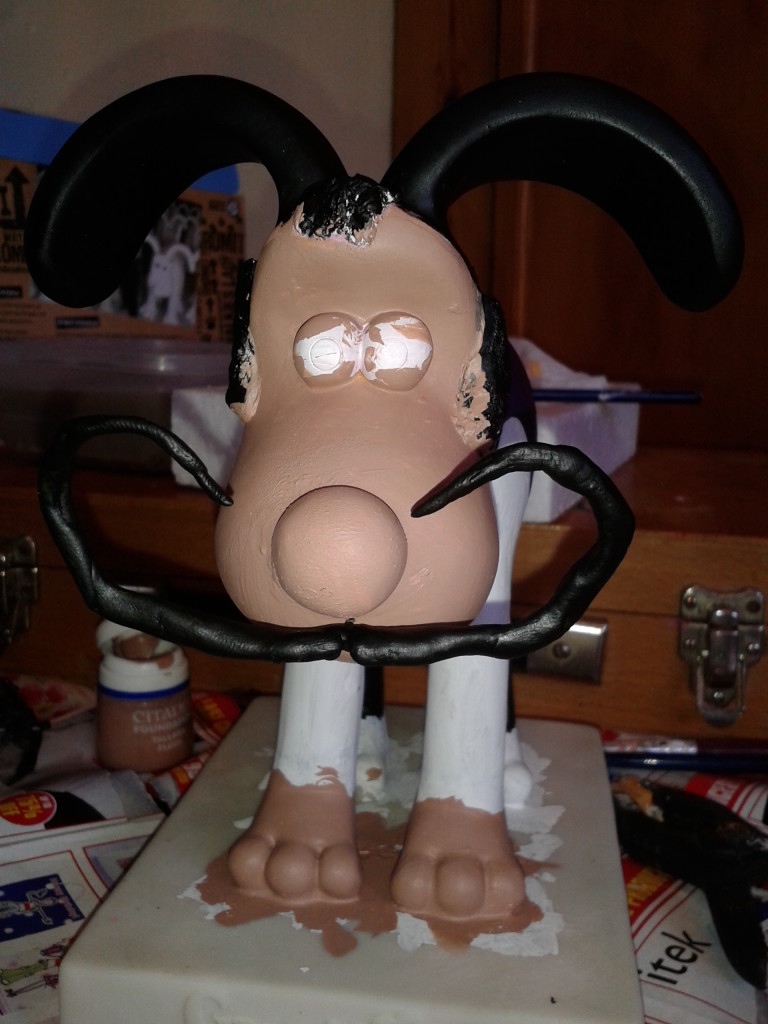
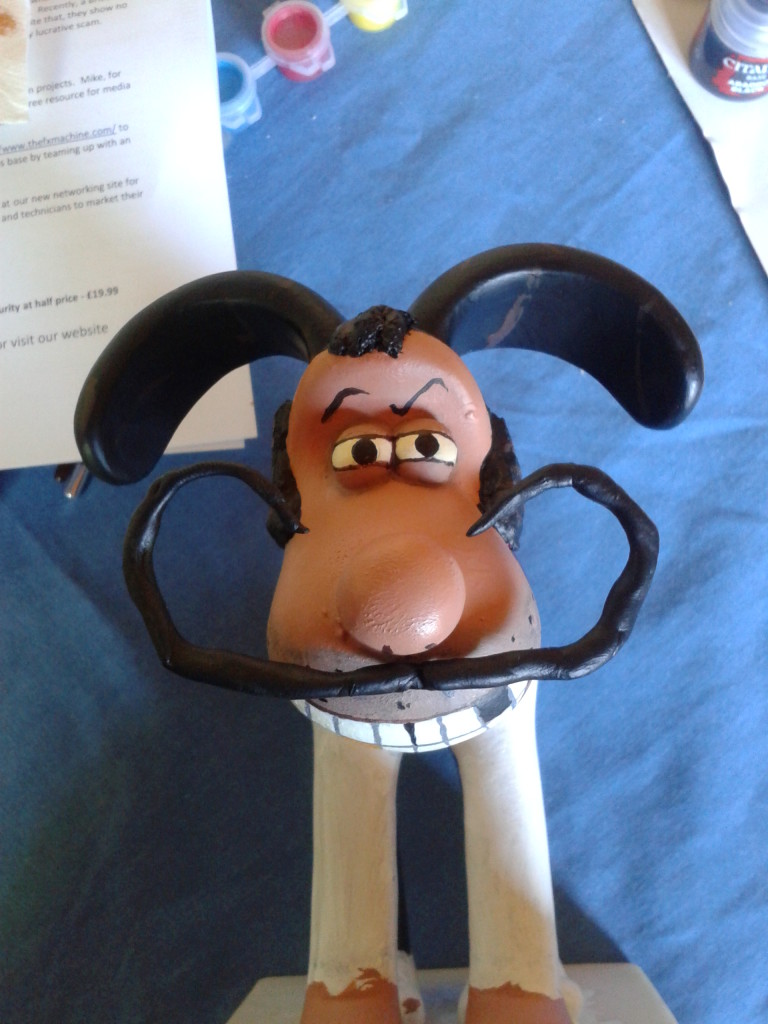
23/12/13
Initial pencil outline on the model itself and some hair modelling using milliput1. Some preliminary work on the moustache, courtesy of my father.
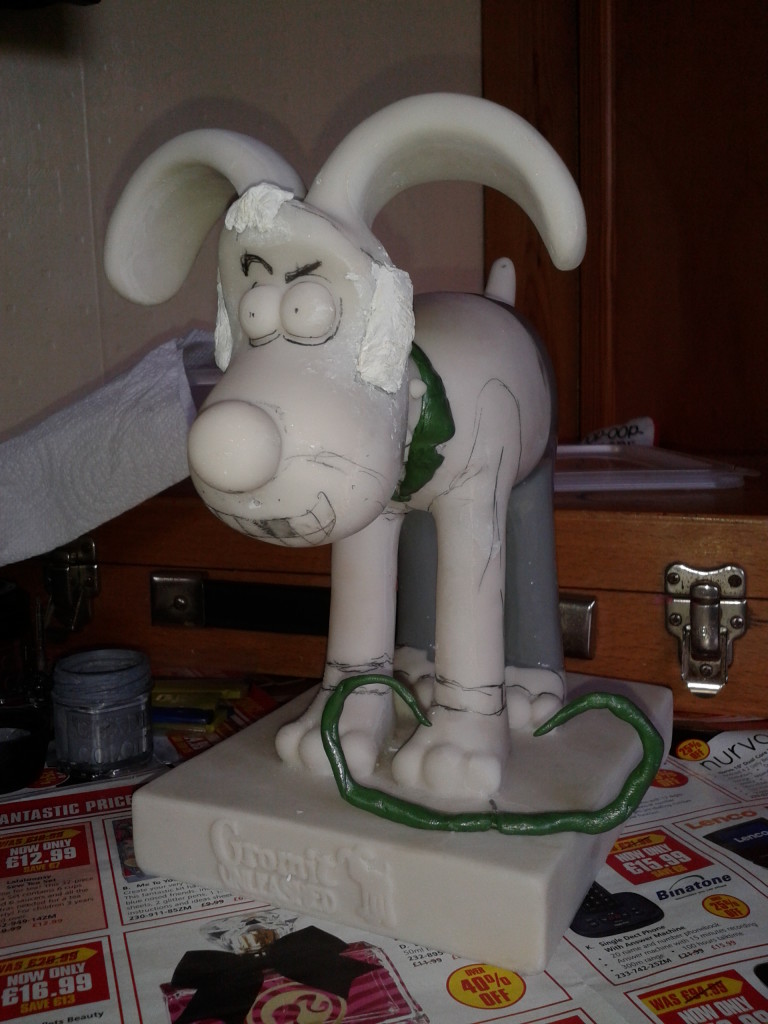
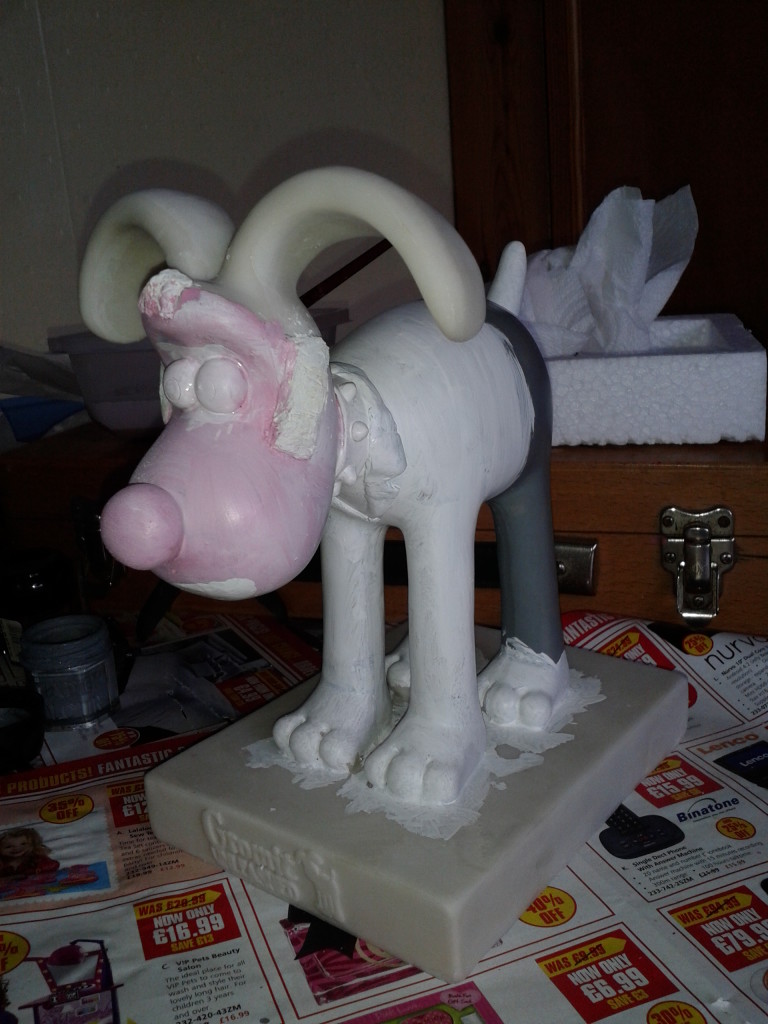
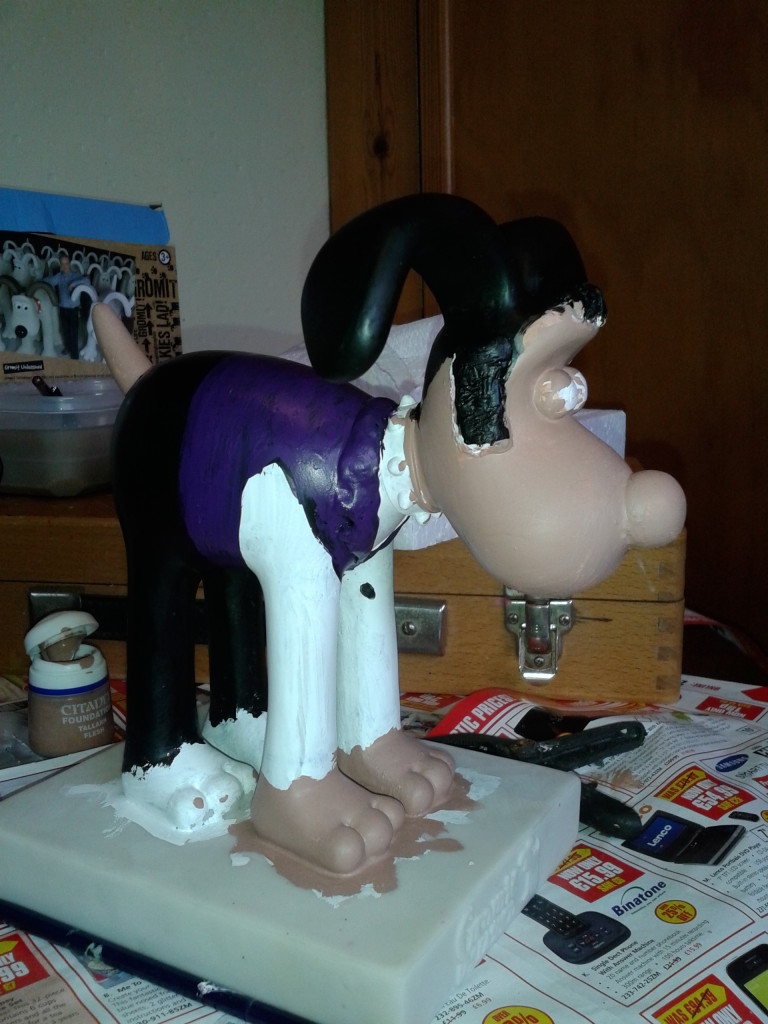
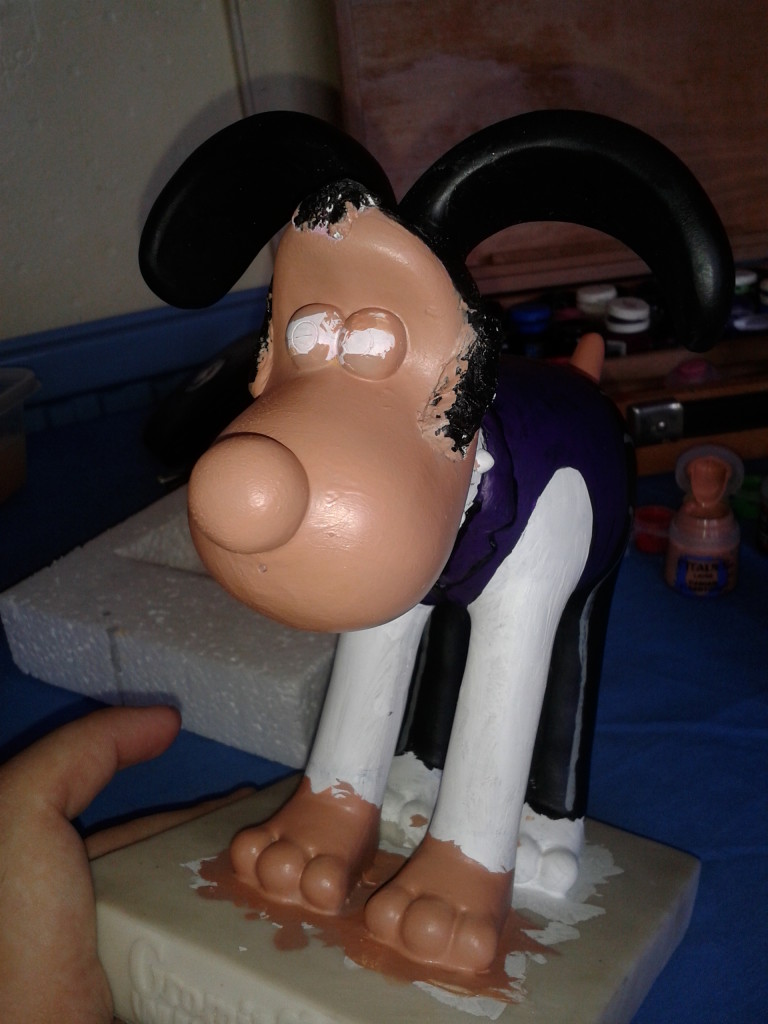
18/07/14
Some undercoating, experimentation with base colours, a little bit of detailing.
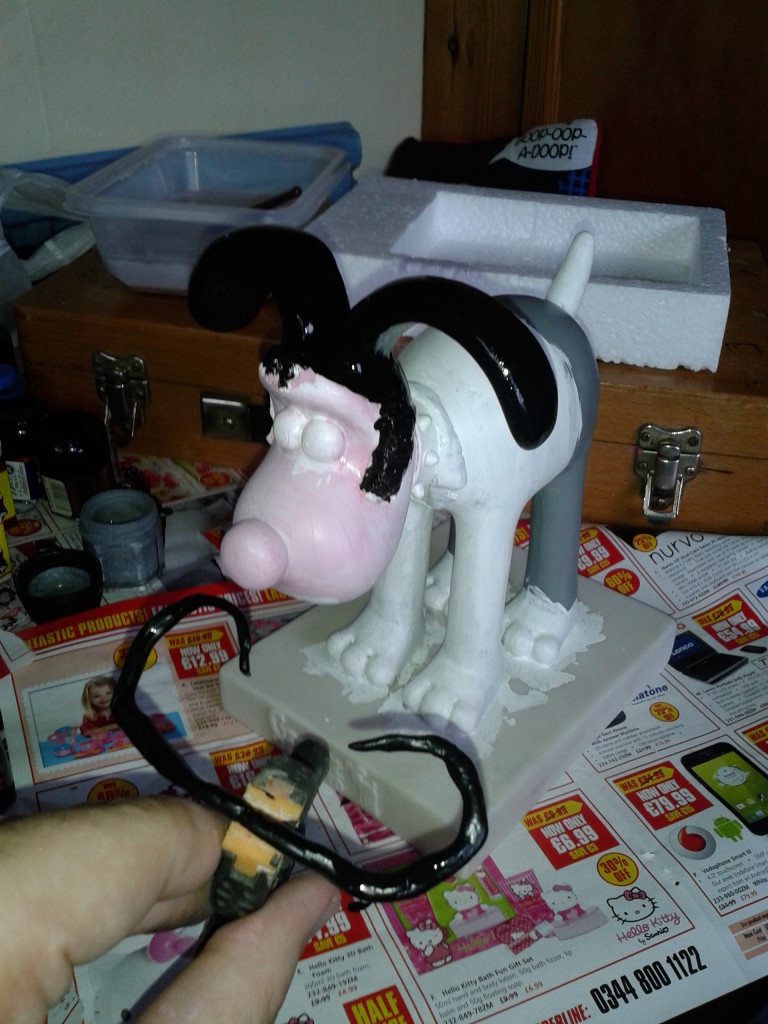
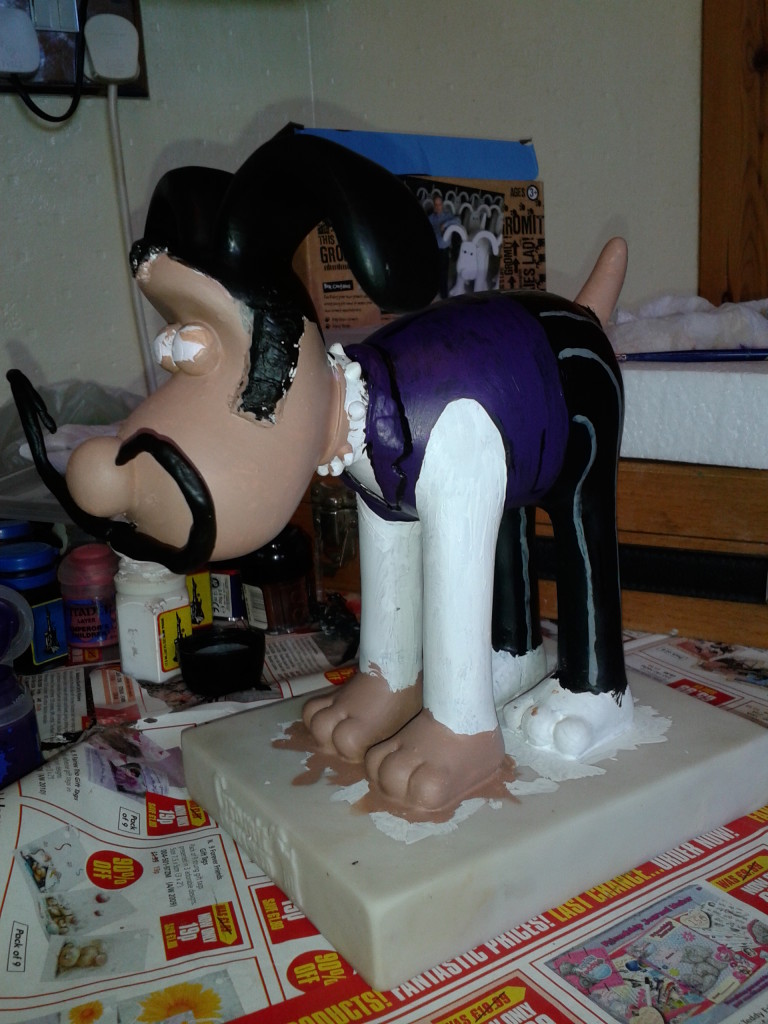
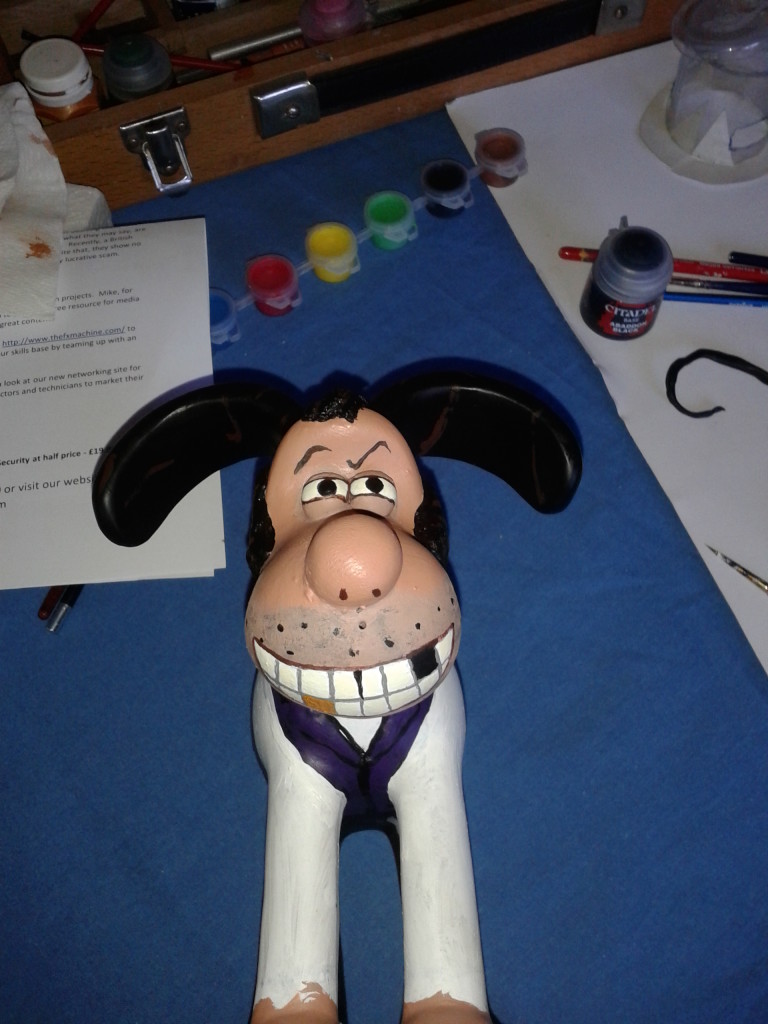
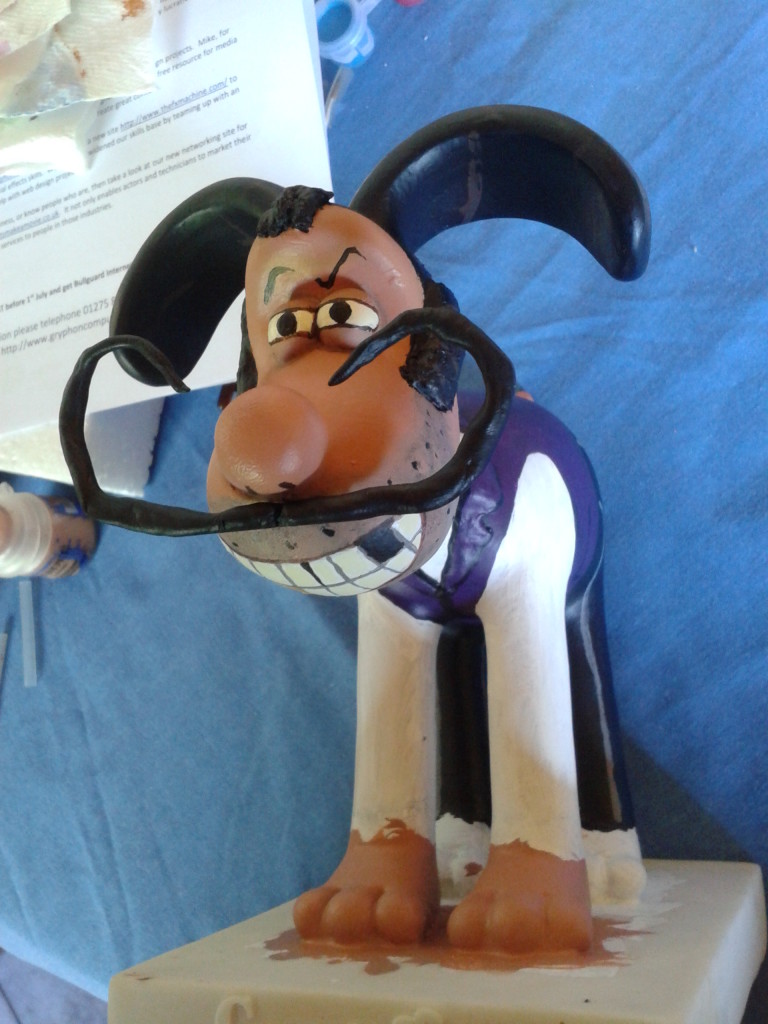
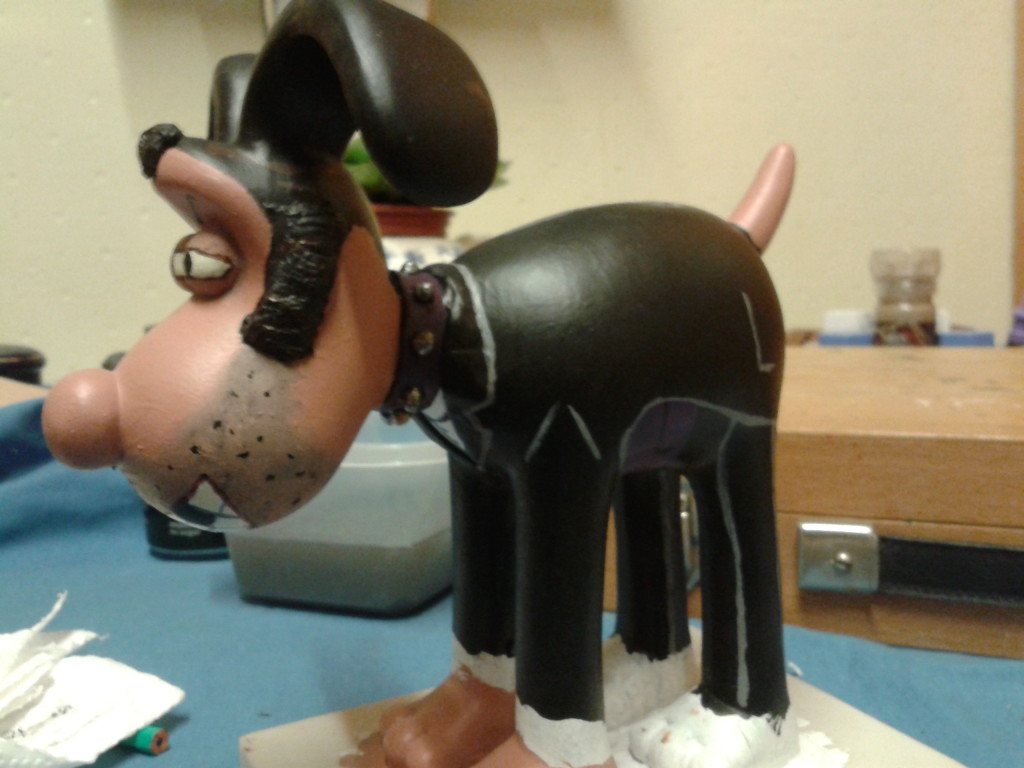
26/07/14
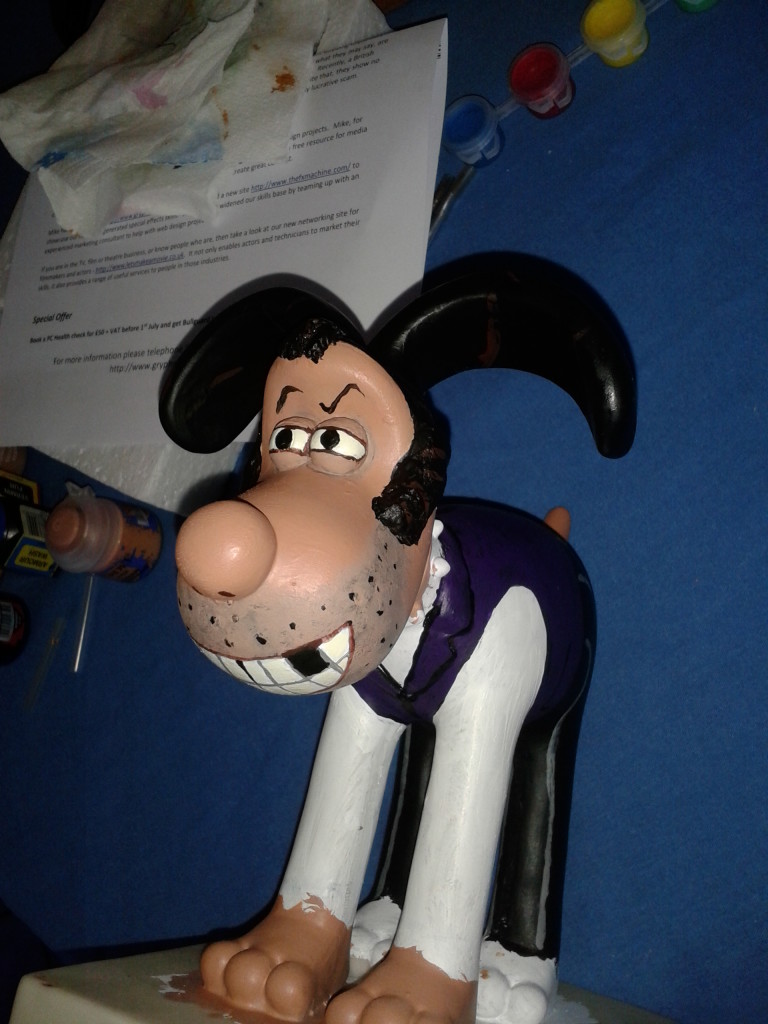
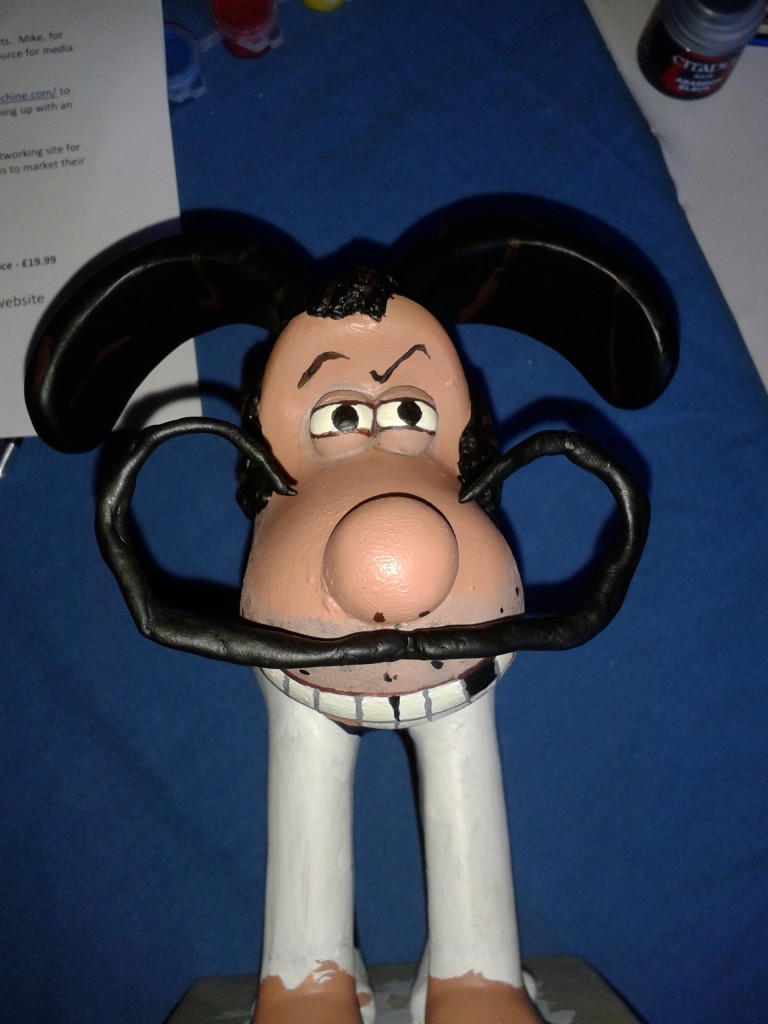
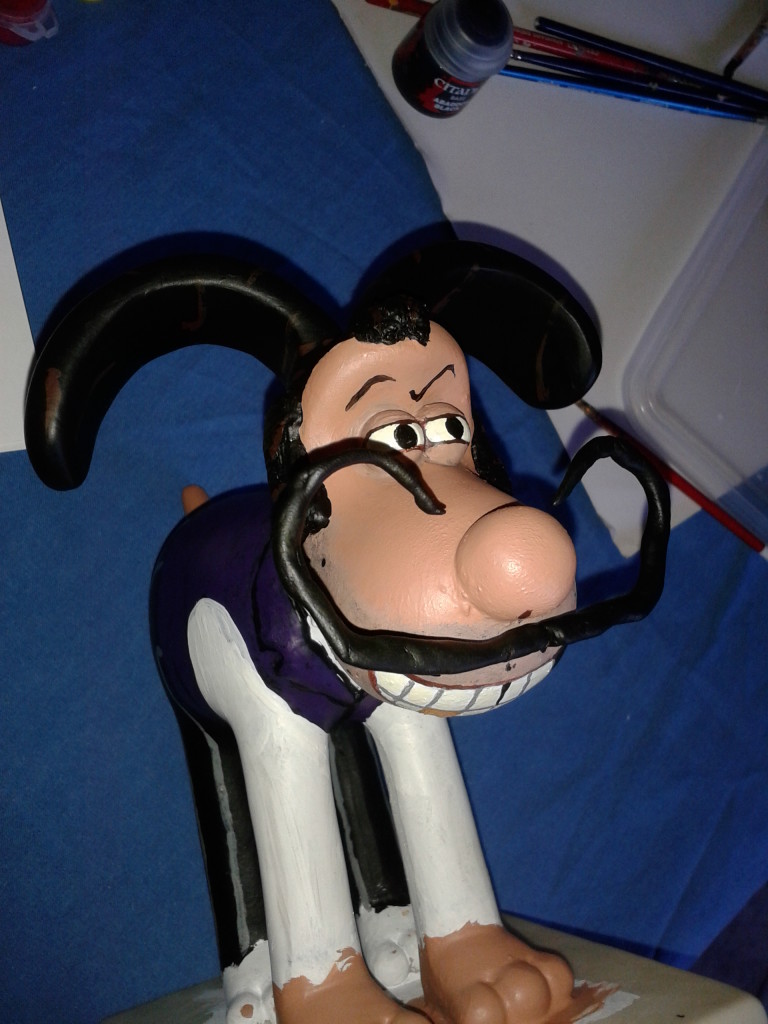
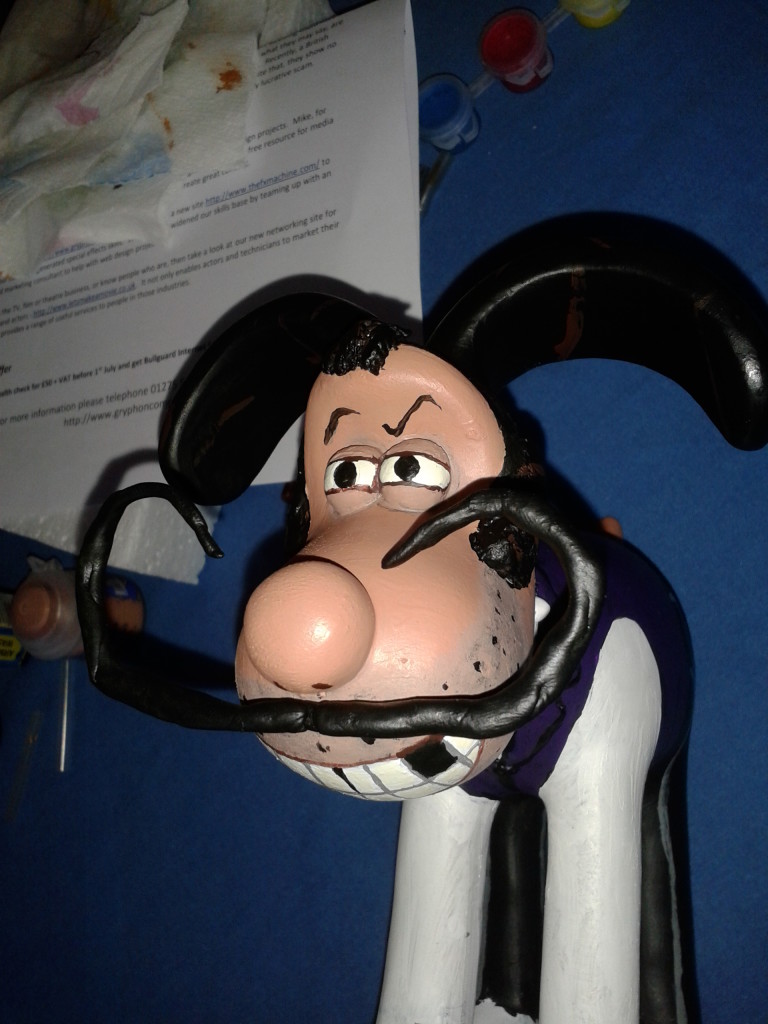
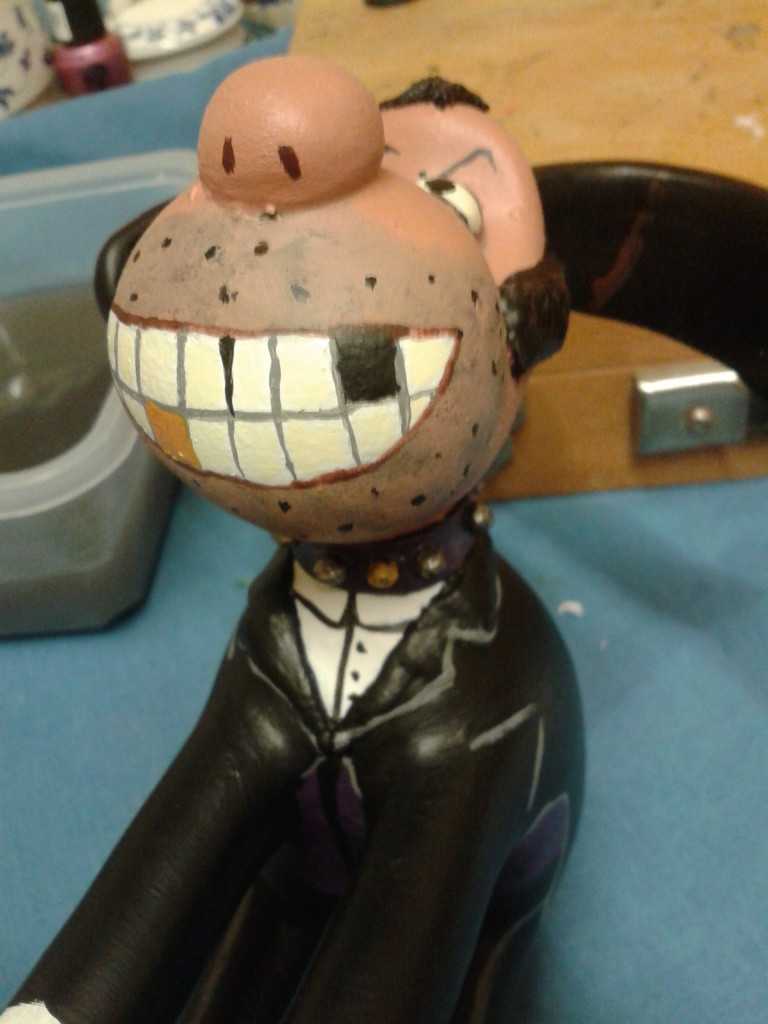
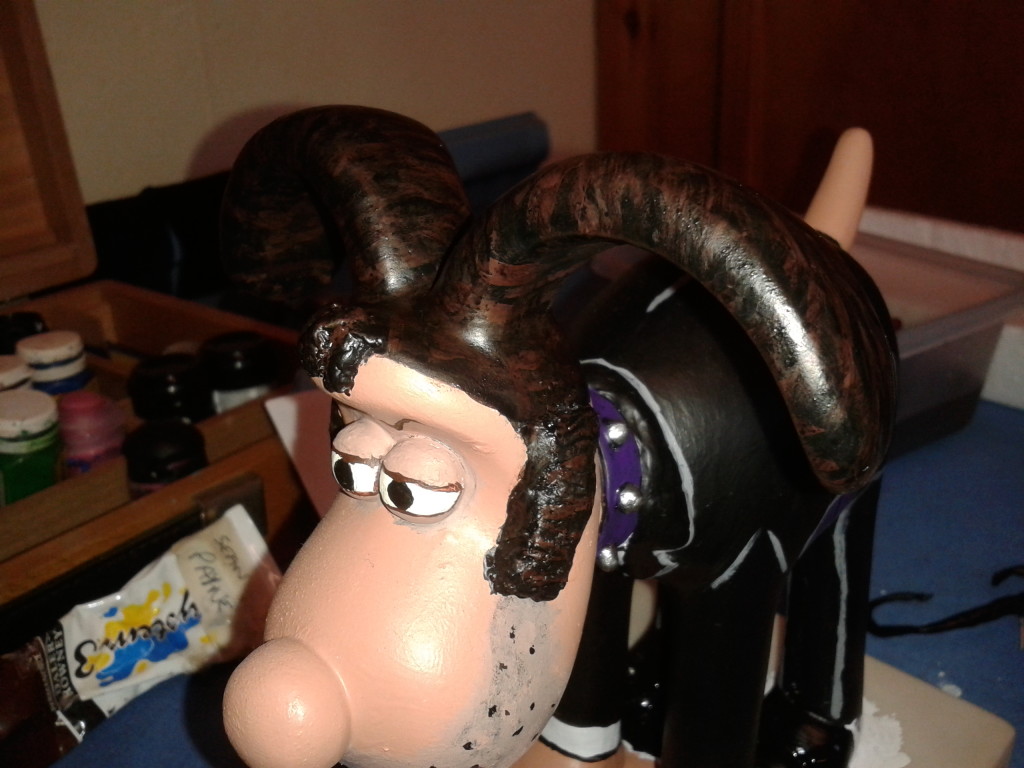
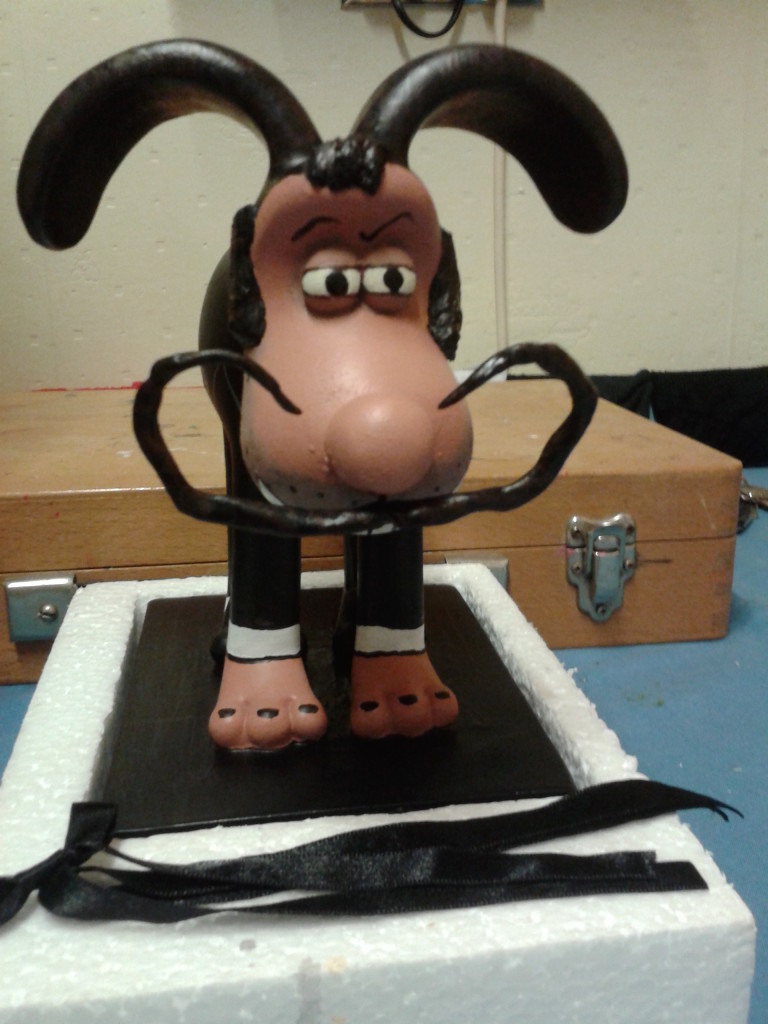
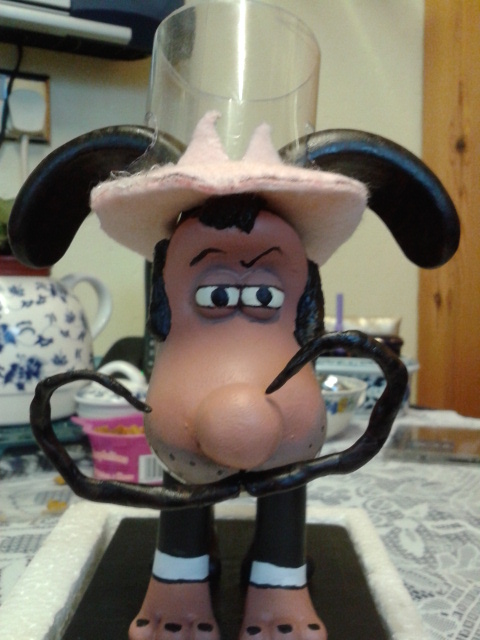
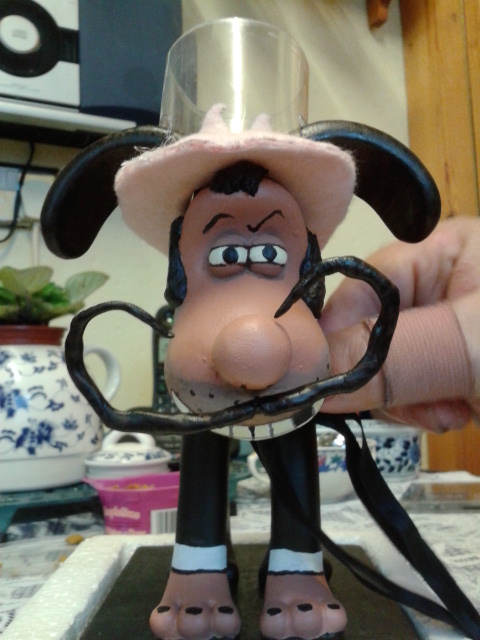
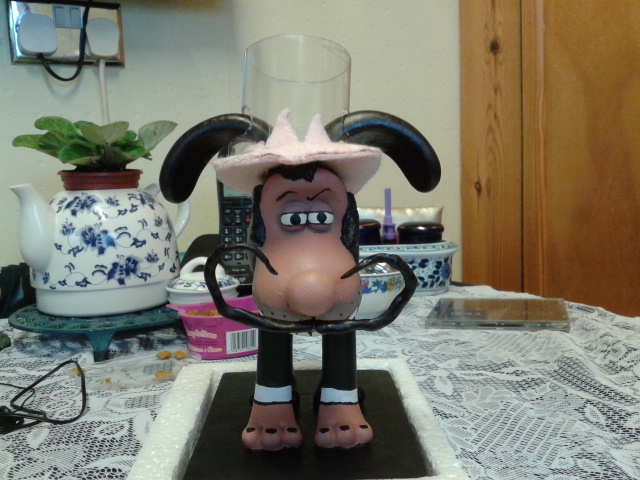
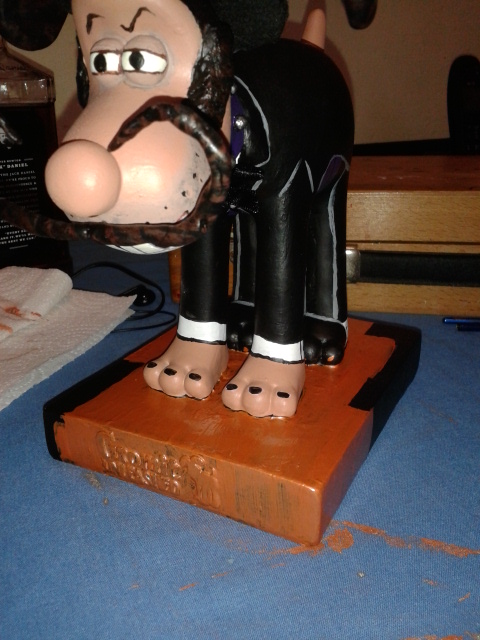
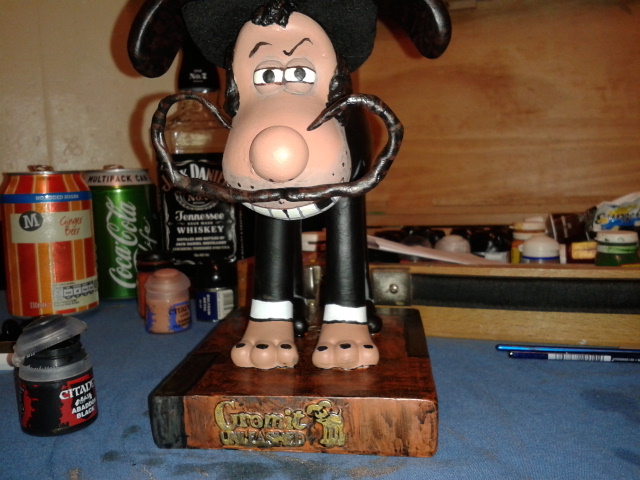
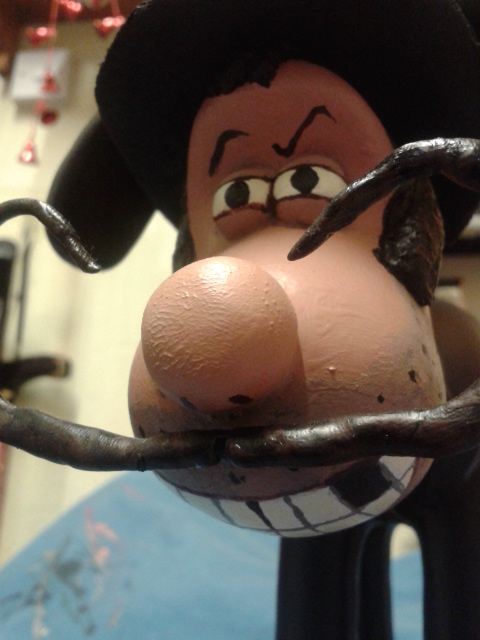
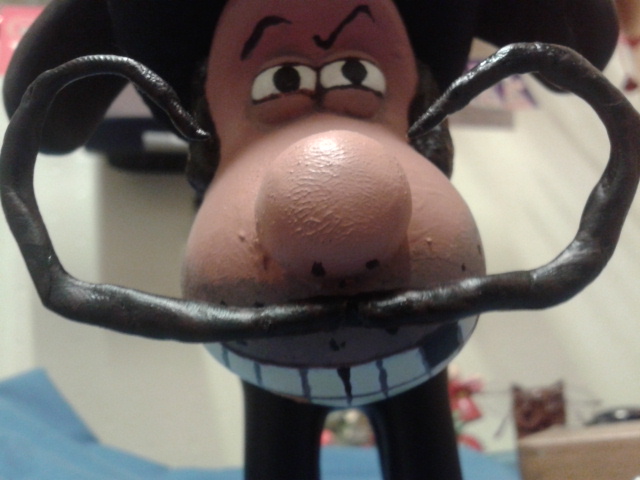
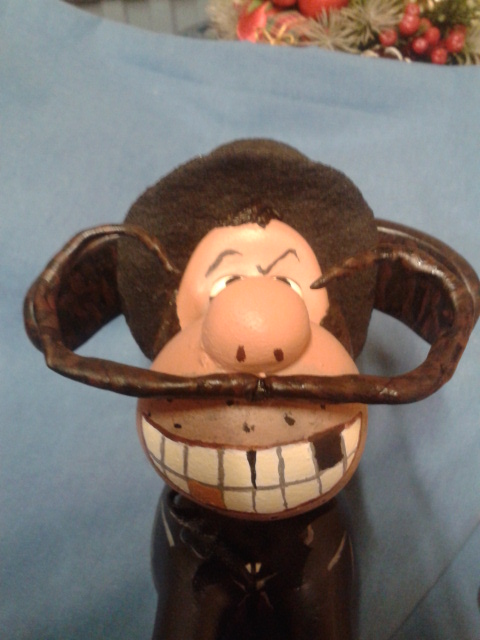
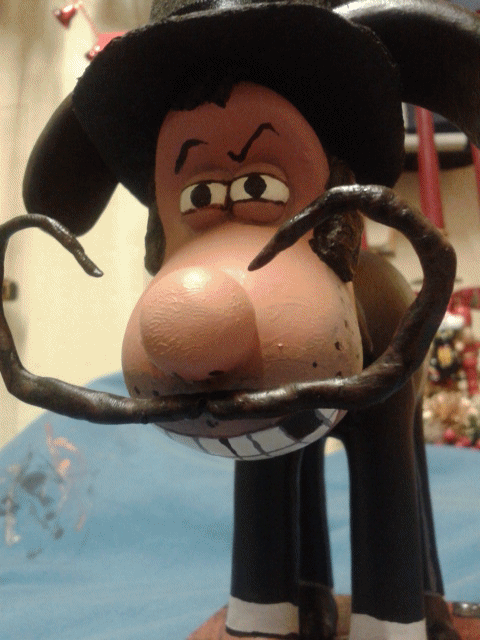
The bad dog gets a face! He gets the tricky lower eyebrow and unshaven quality of Professor Fate, a gap in his front teeth from Terry Thomas, a villainously greedy gold tooth and a missing tooth2.
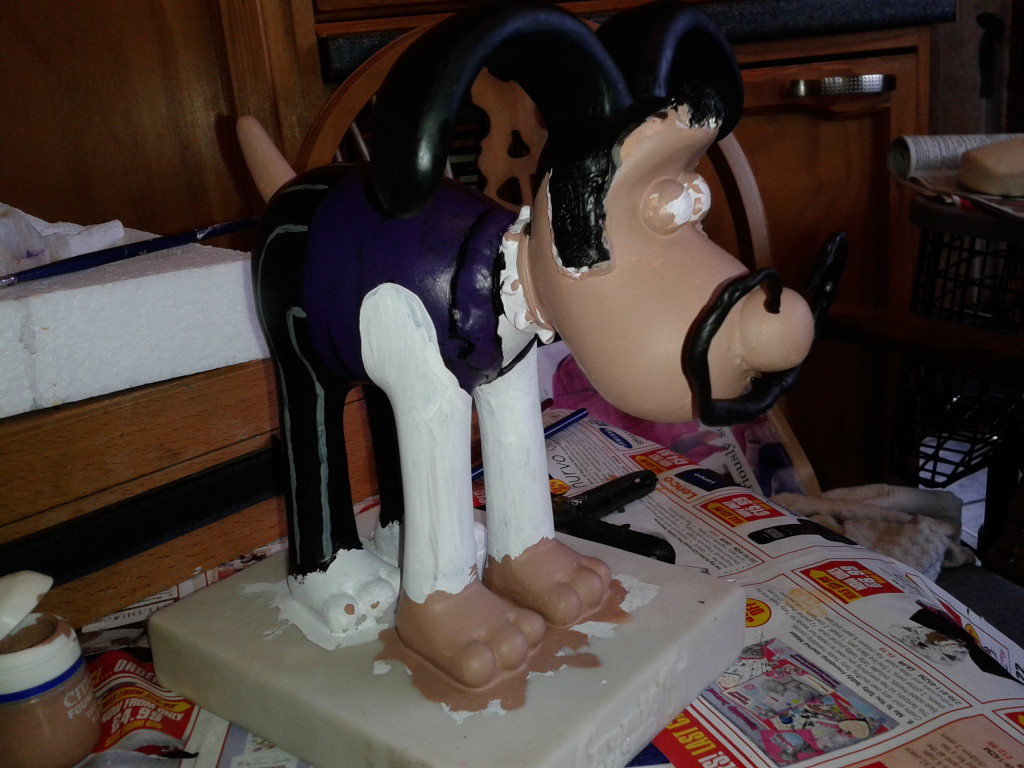
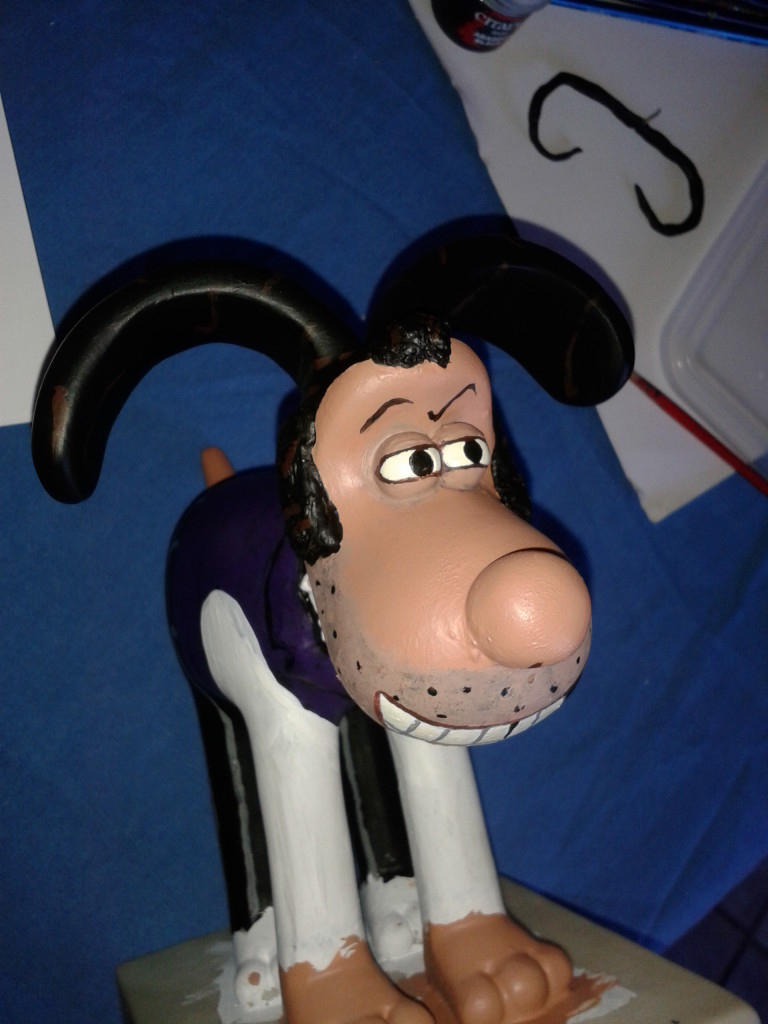
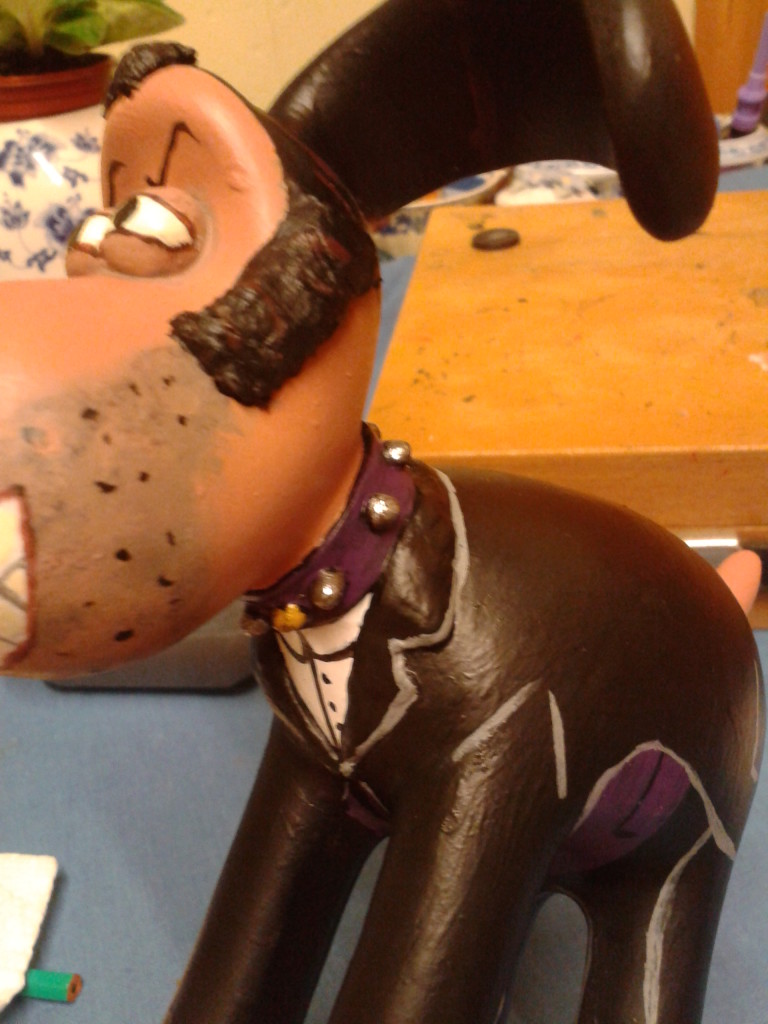
10/10/14
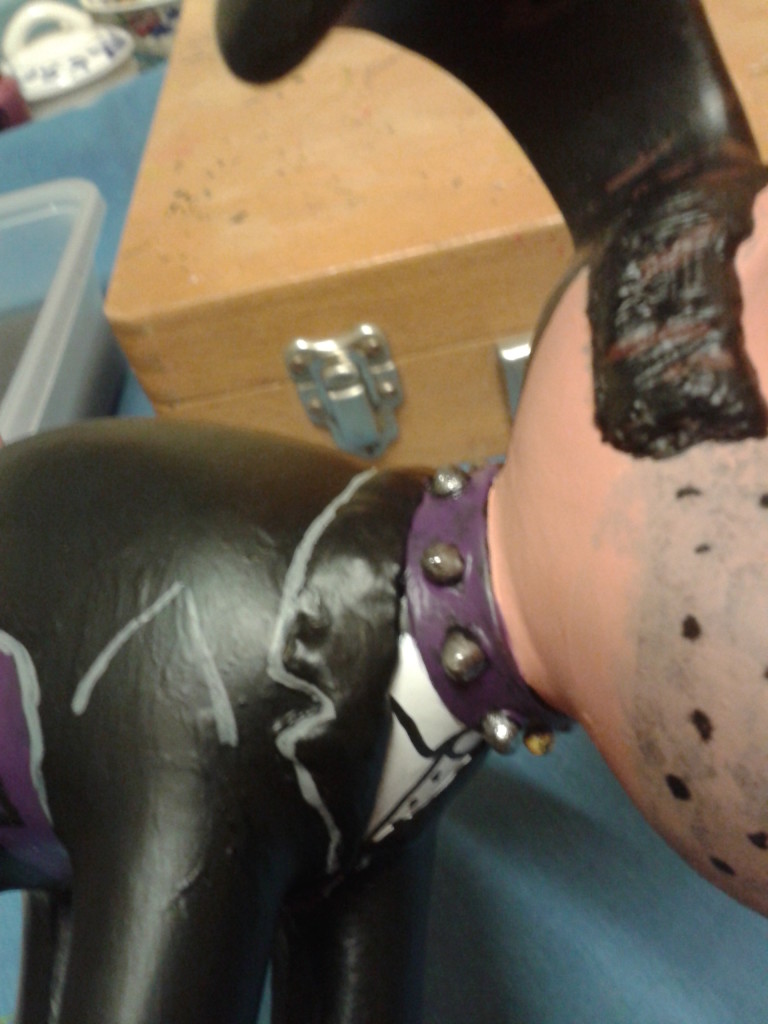
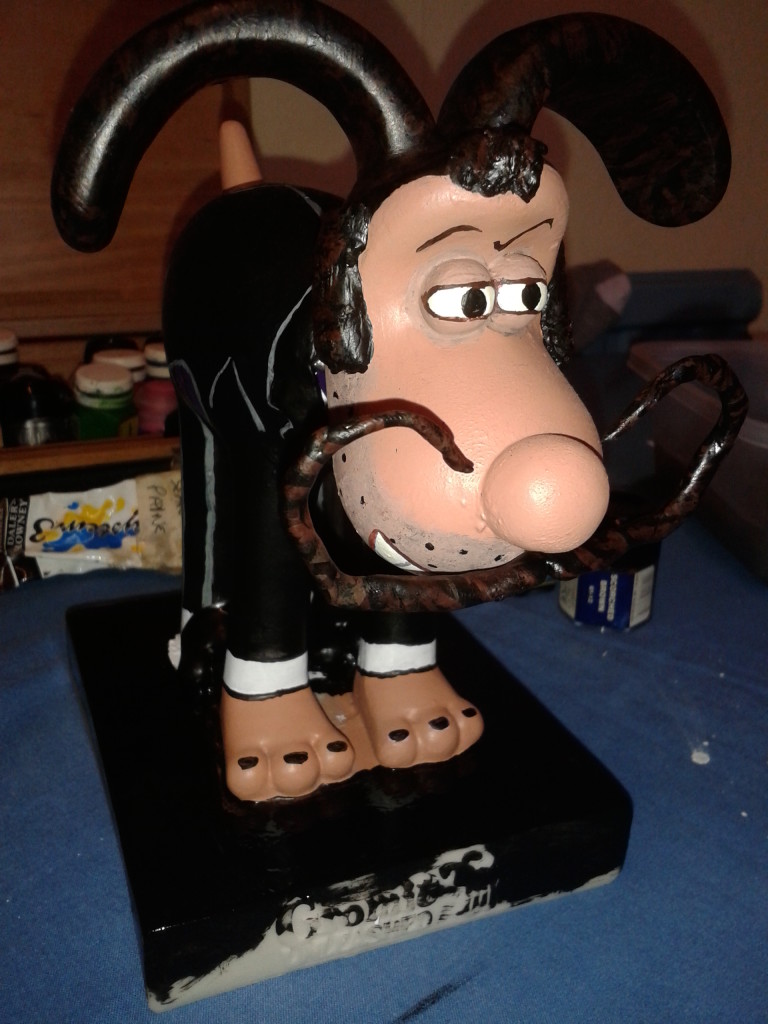
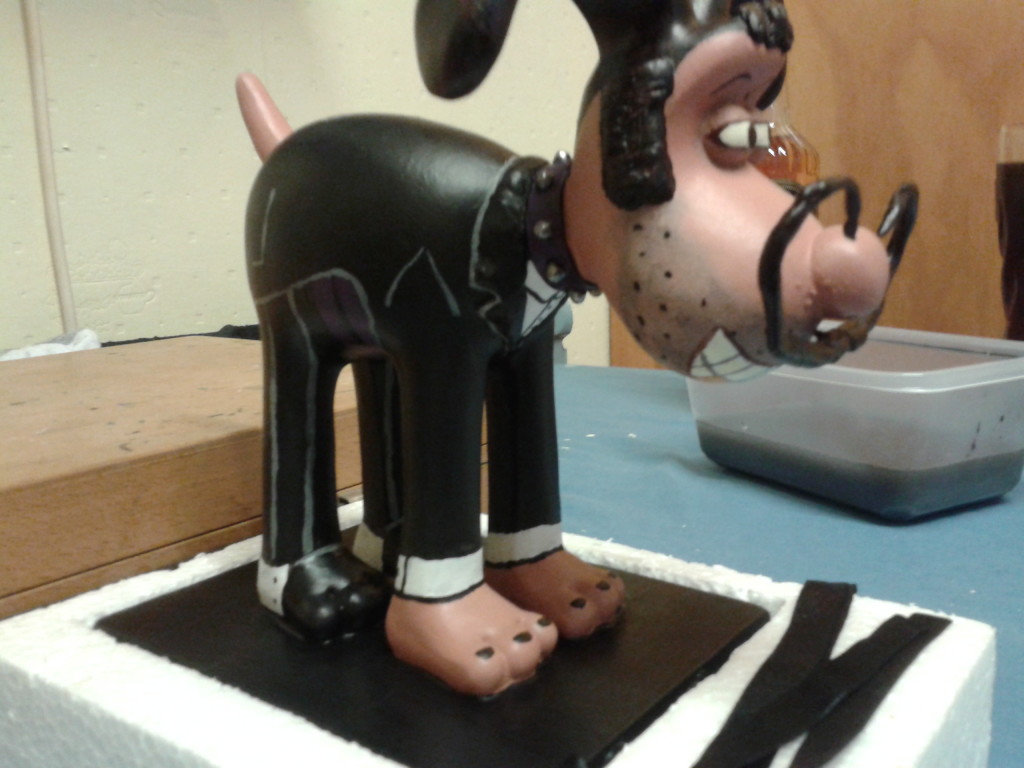
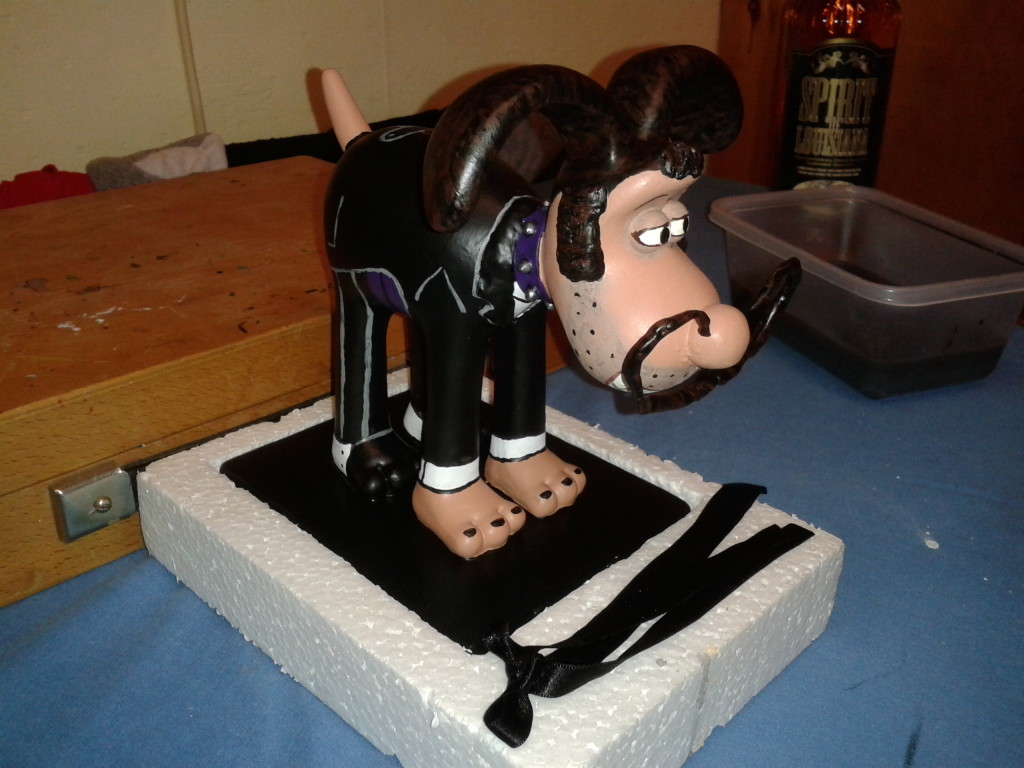
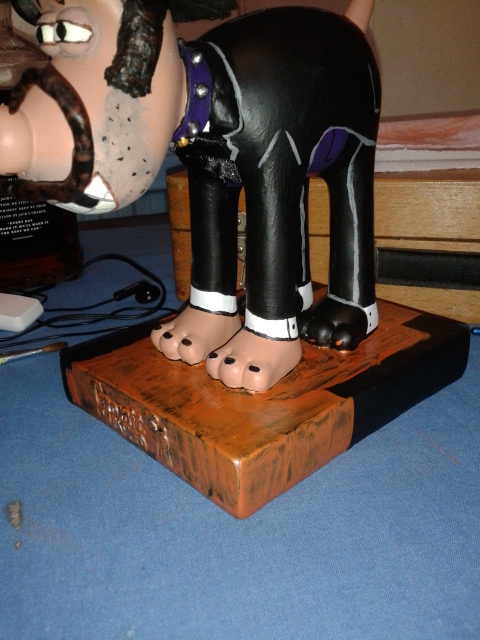
Originally the plan was to make a proper coat for Gromit Dick (hence the detailed waistcoat that was painted on), but the base made it too difficult to get the sleeves on and it probably wouldn’t have looked that great after all. Instead I painted the coat on and highlighted it using grey. Some other details like this collar and shirt went on too.
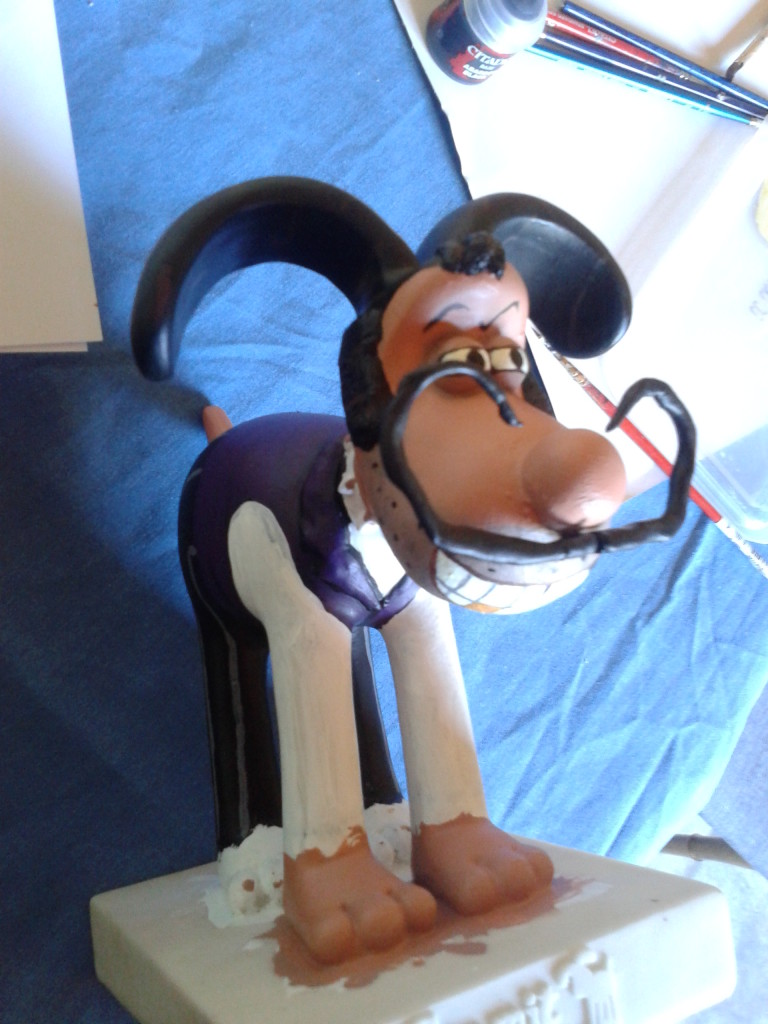
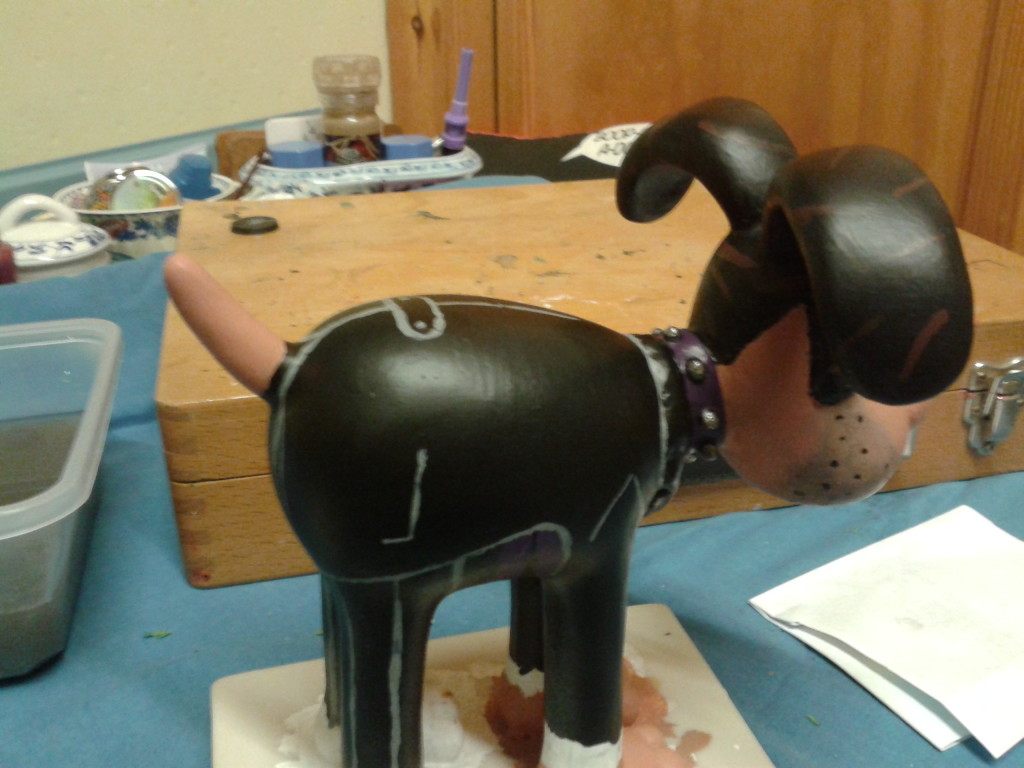
18/10/14
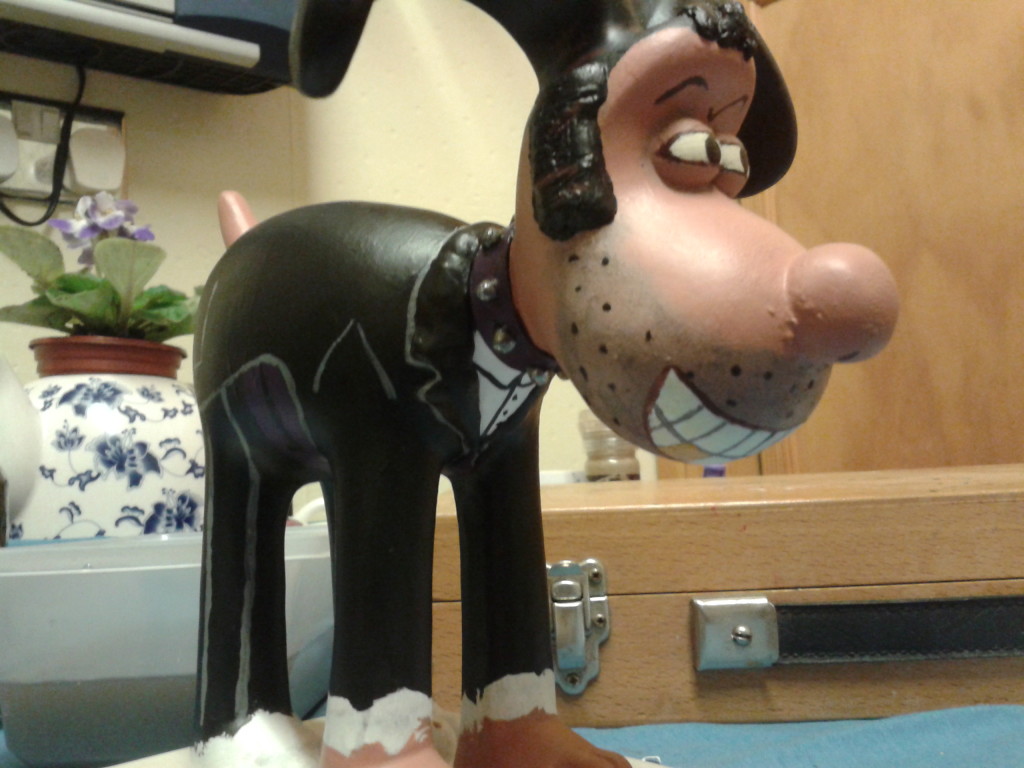
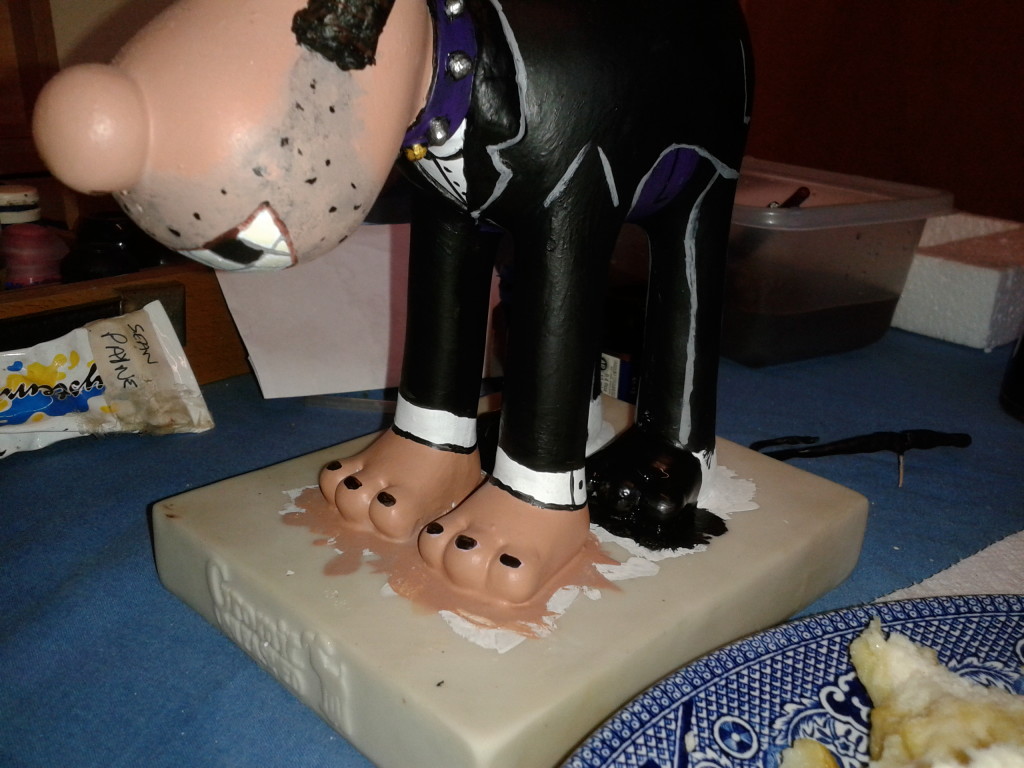
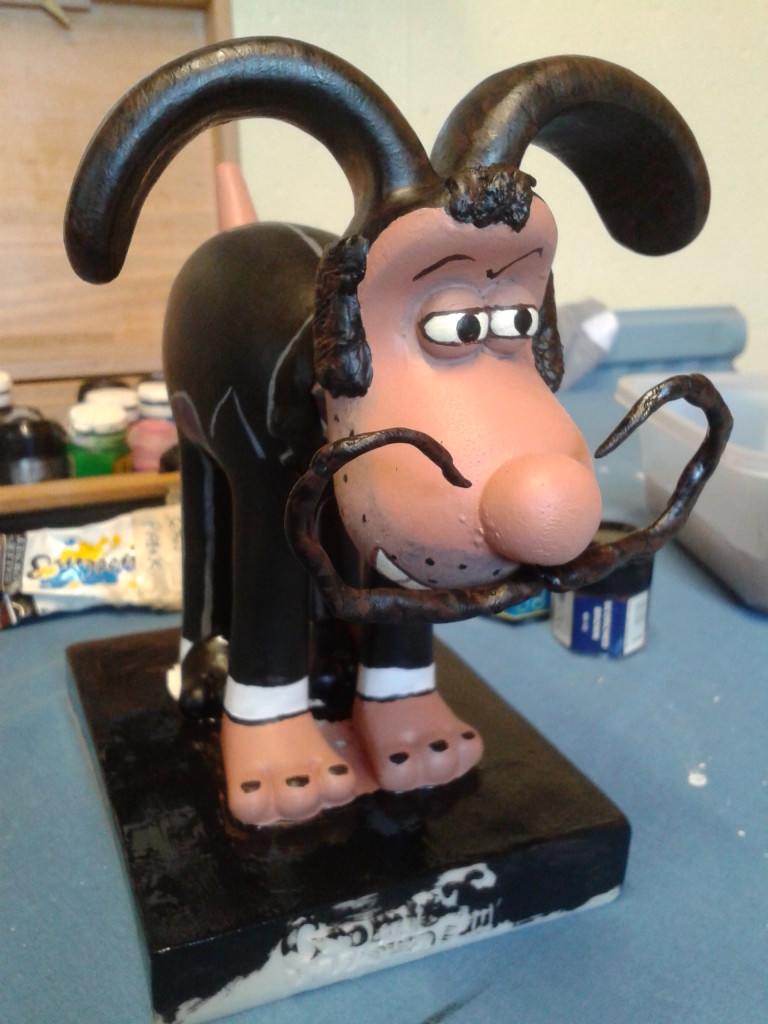
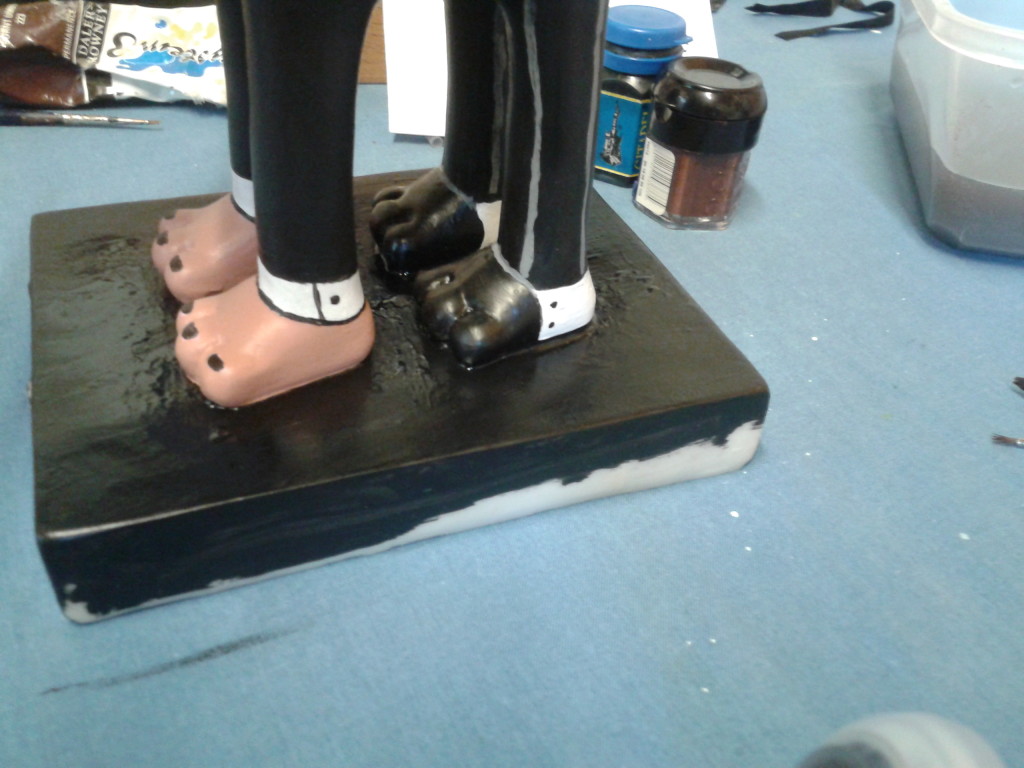
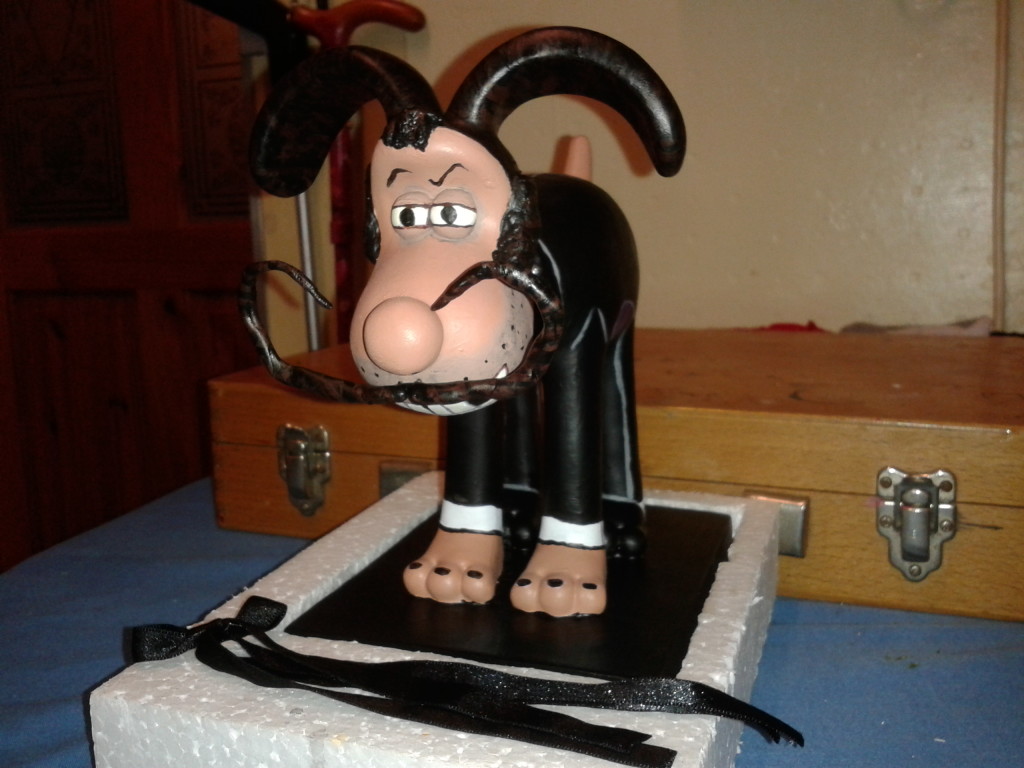
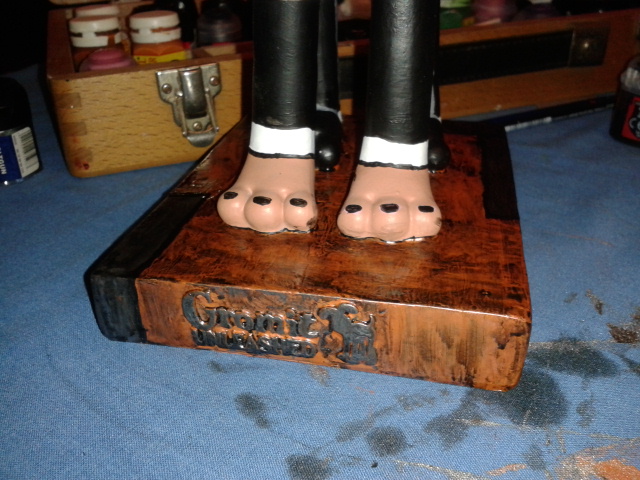
I decided there was a little too much black and, with intention of giving Dick a black hat, I figured it was best to actually give him dark brown hair just for a bit more colour. Dry-brushing on some dark brown and coating it in an ink wash did the trick! Detailing and tidying up on the feet was completed, and the base was undercoated.
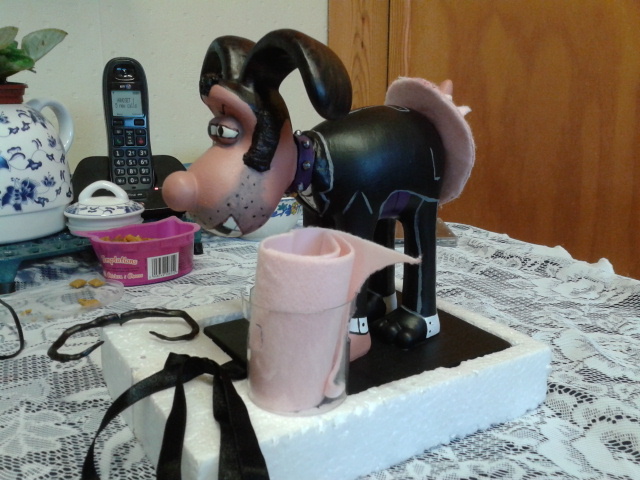
08/11/14
My father, being of a somewhat creative nature himself, devised a very clever way of making a top hat. First he cut two circles of wire mesh with a slit in one of the sides. The mesh was covered with sticky-backed felt, which we would paint black. The top ring of mesh had some flaps on its interior, which would attach to a clear plastic pot that would get the felt and painting treatment too.
18/11/14
Ten days later, I visited my parents only to discover a really nice surprise: Dad had went ahead, gluing the moustache and bow tie and pretty much finishing the hat! It looked great, once the black was applied3 and the ribbon was a really nice touch.
29/11/14
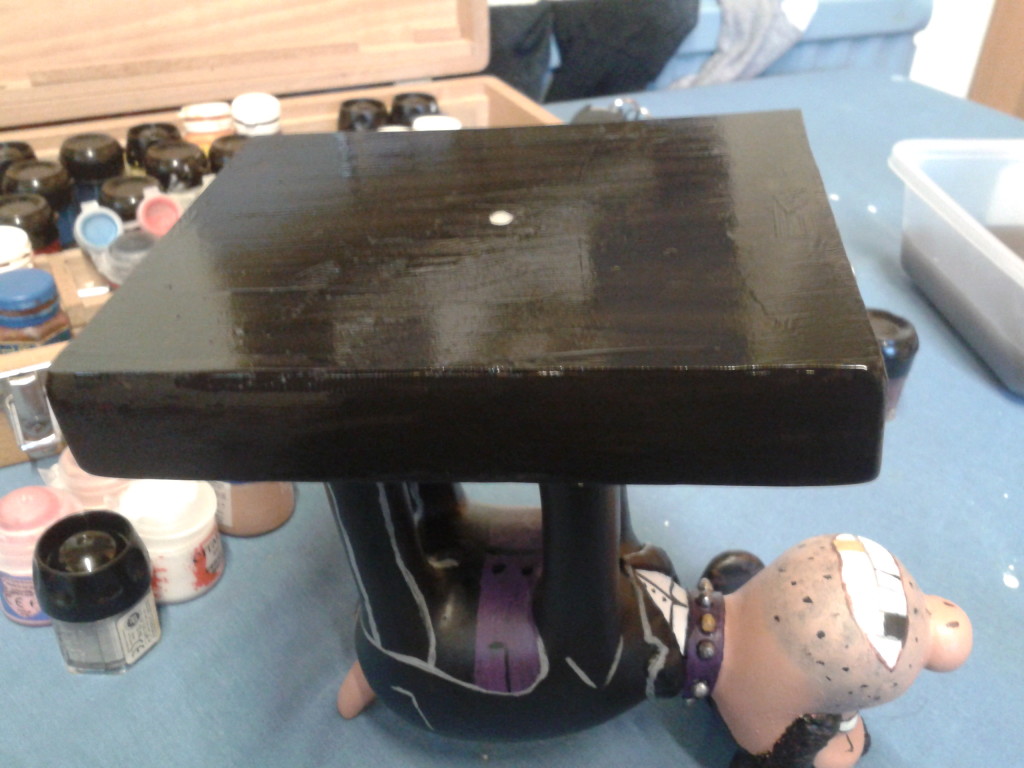
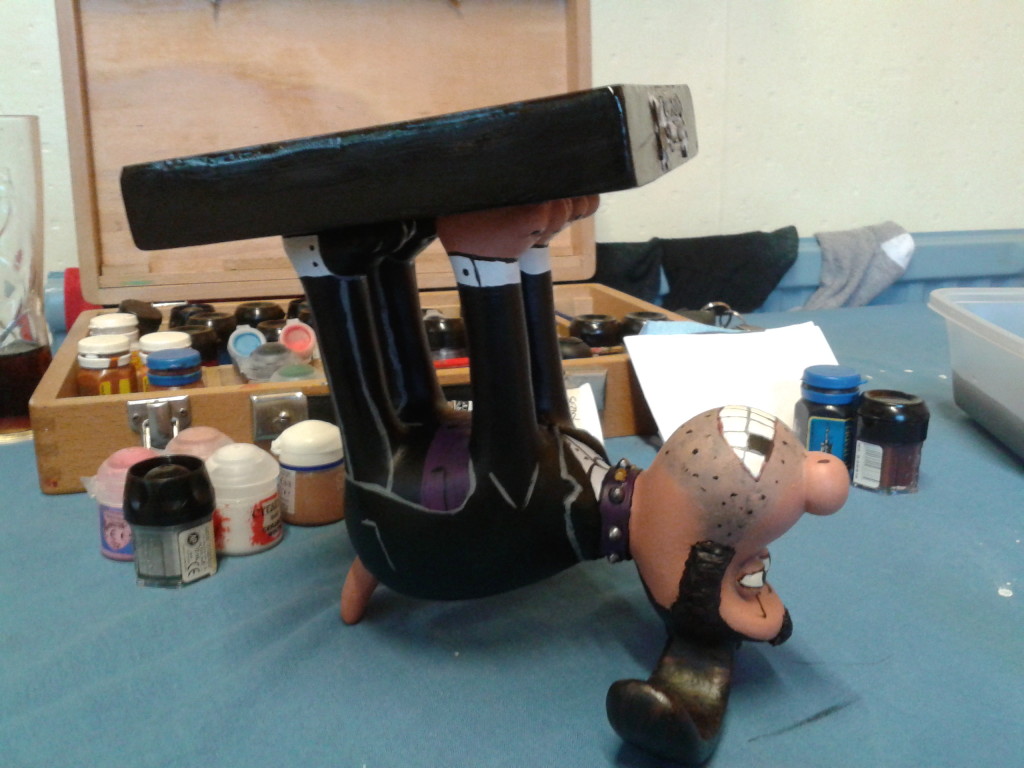
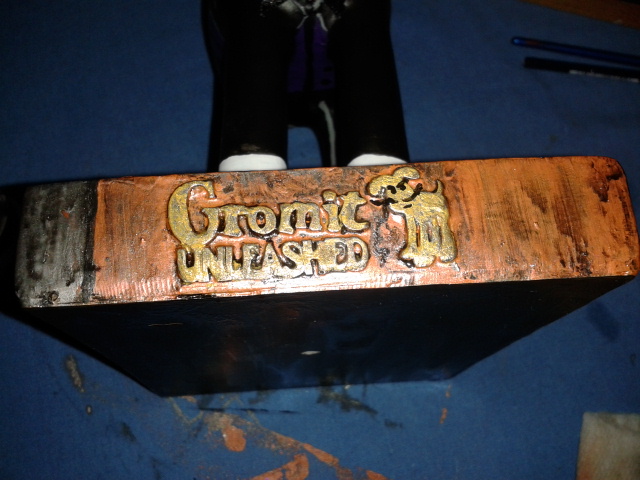
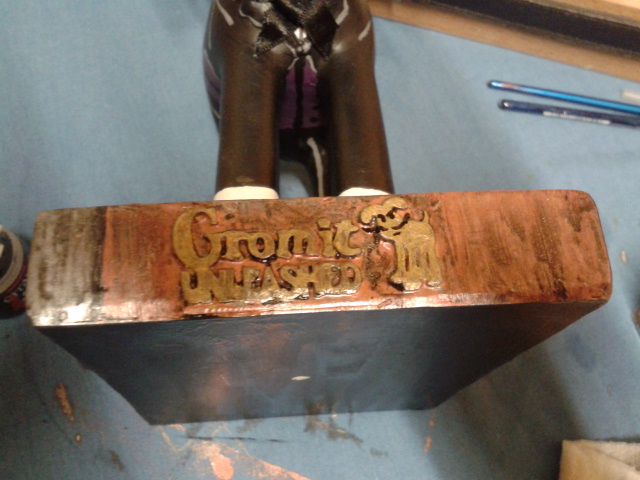
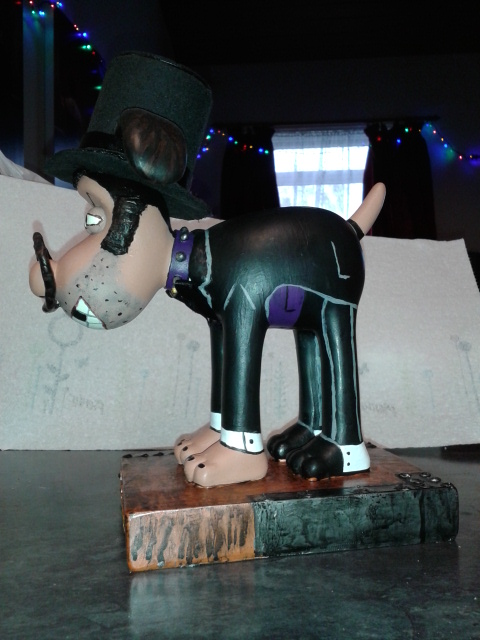
Painting the base: originally I was thinking some sort of flock (mock grass) base with a bit of train track running through it as a nod to classic melodrama villains but it would have been too difficult. Instead, I opted for a steampunky metallic base. Most classic villains are brilliant inventors, and I just like to imagine that Dick Dogstardly is standing on top of his latest, greatest creation!
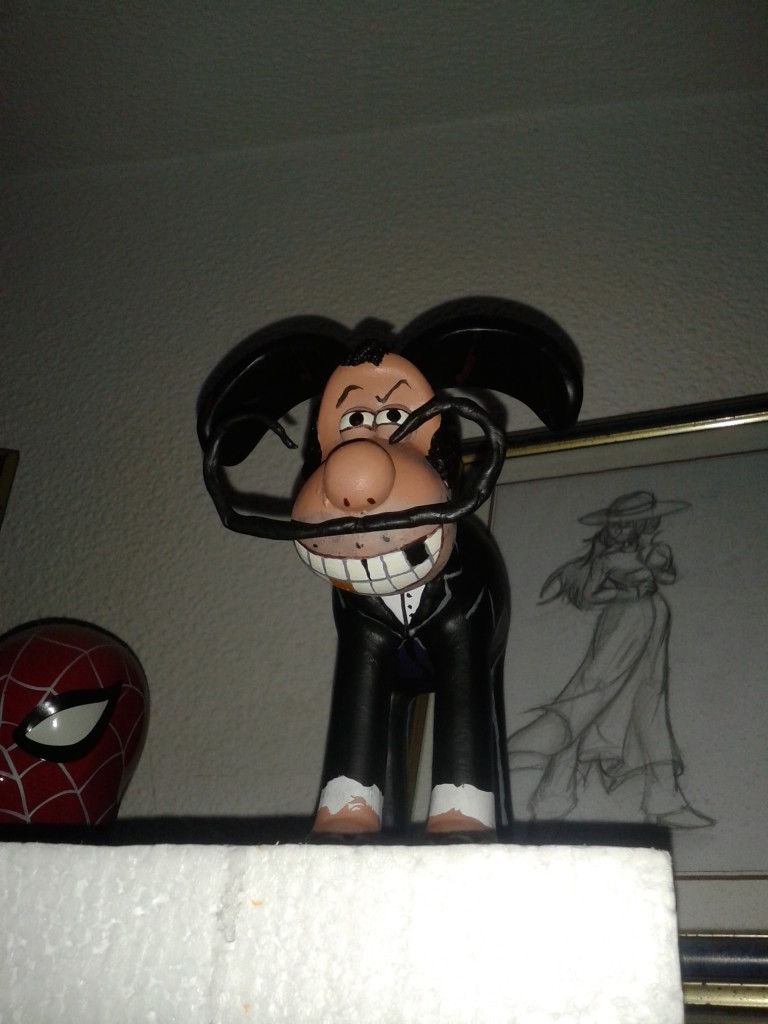
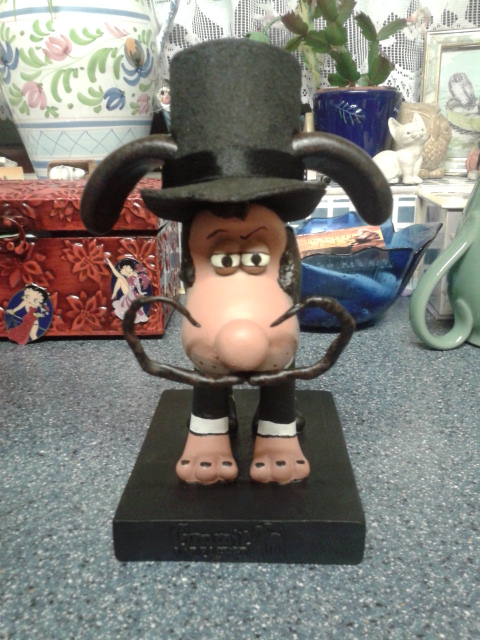
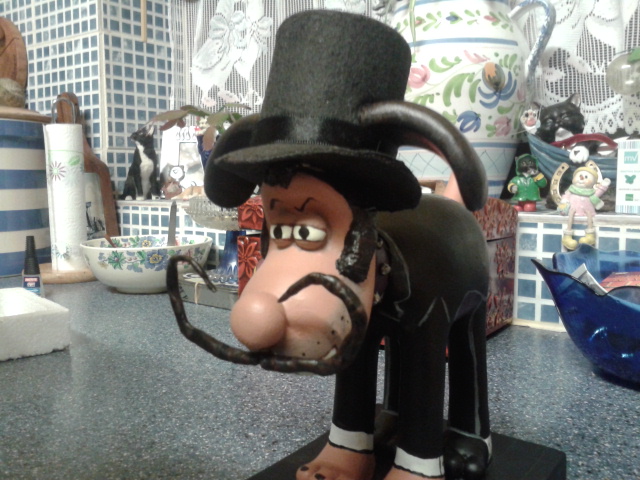
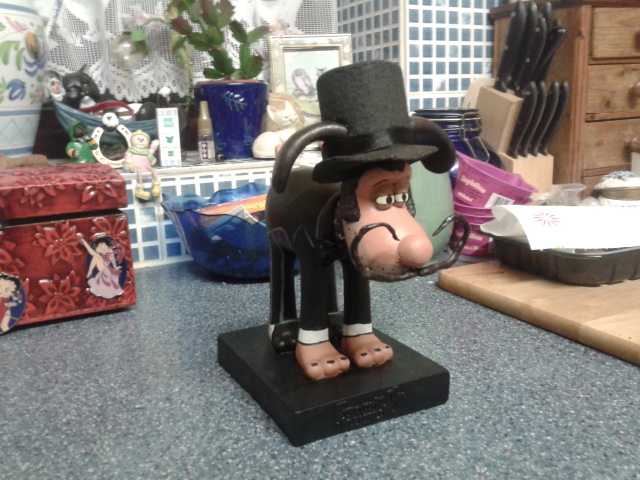
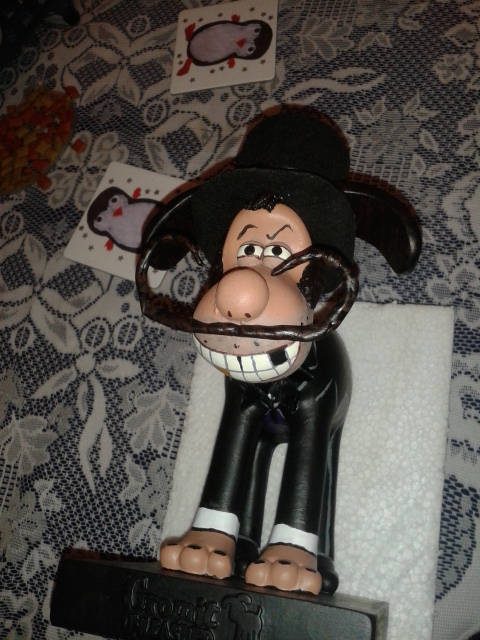
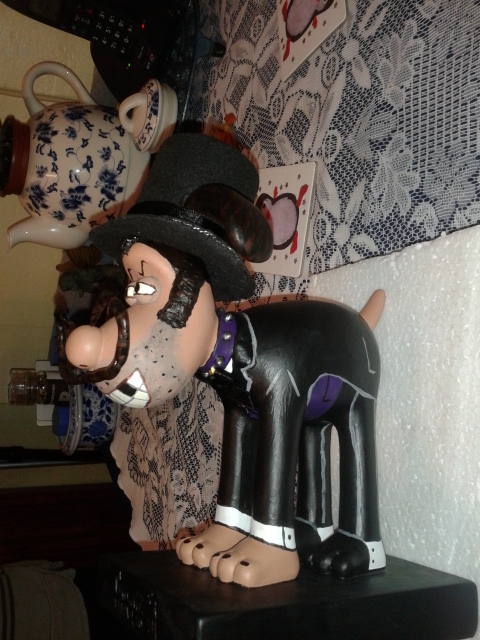
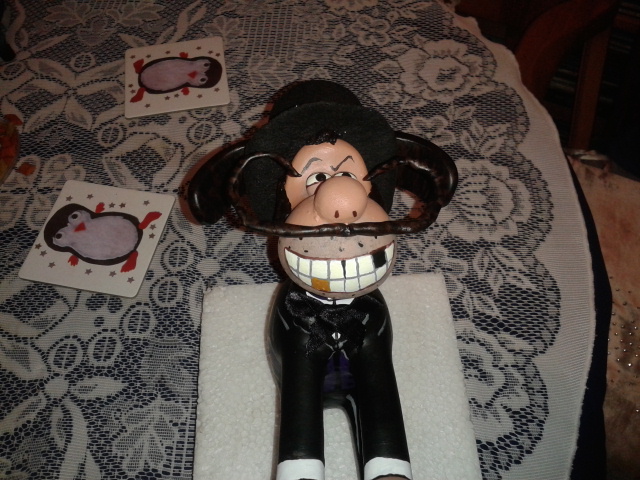
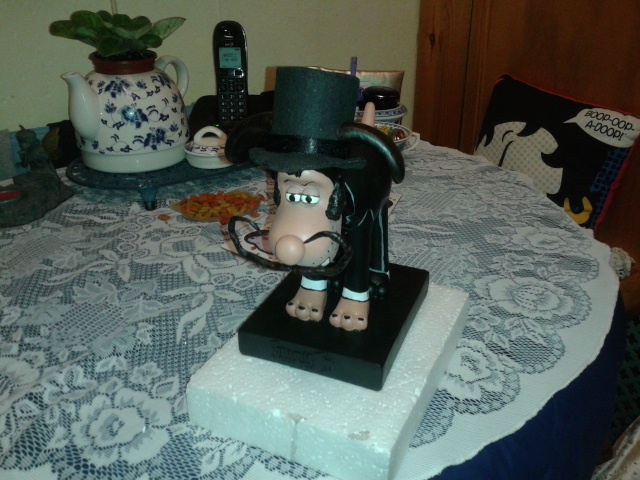
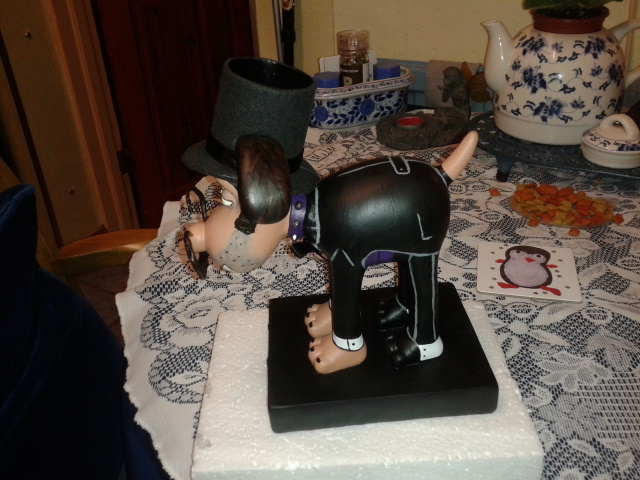
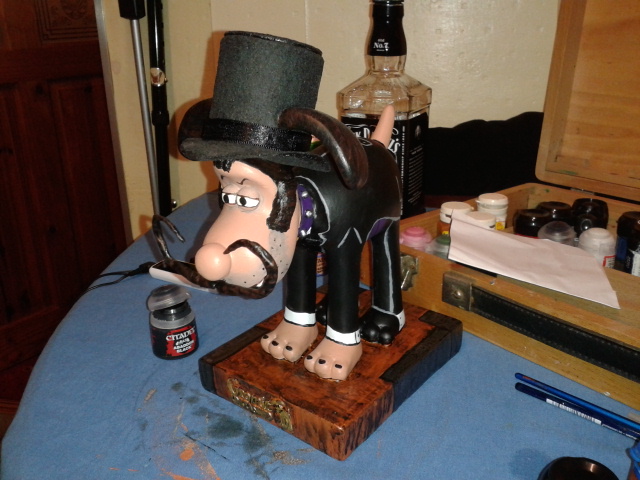
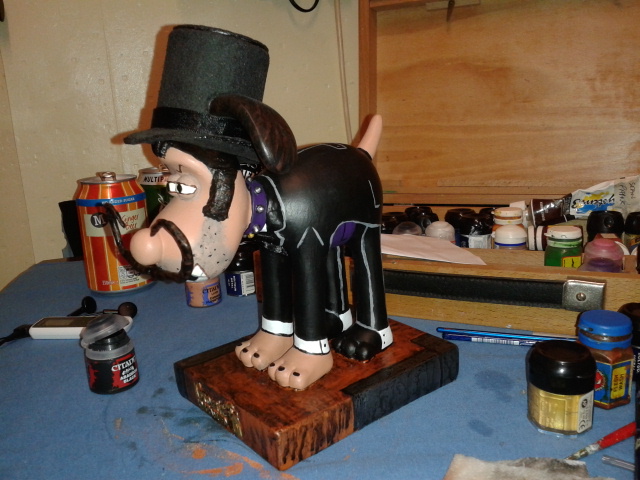
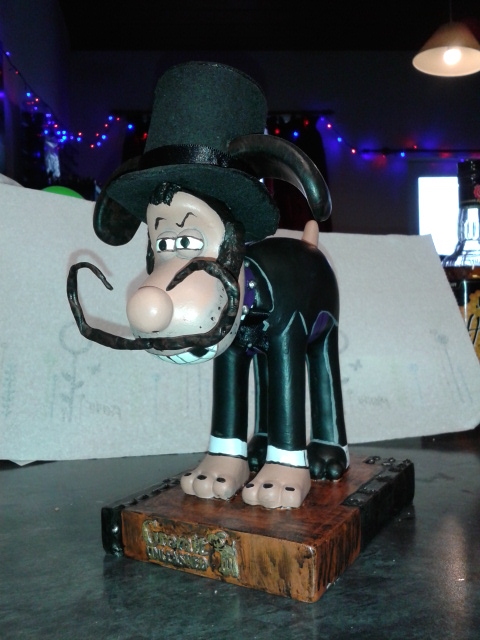
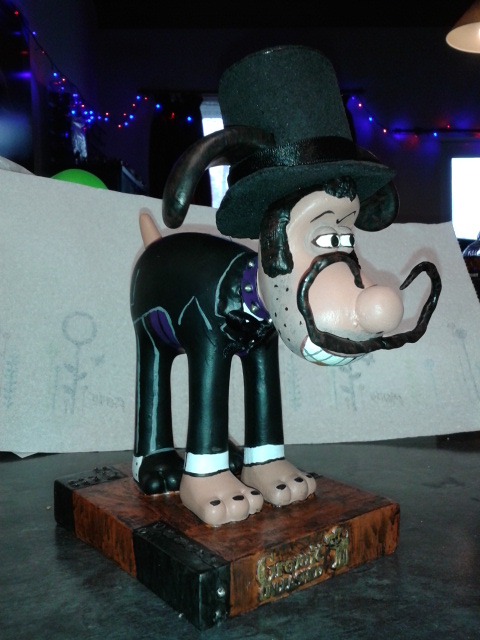
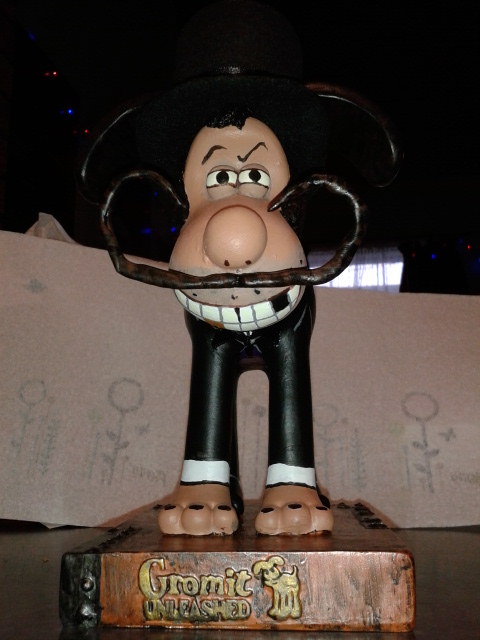
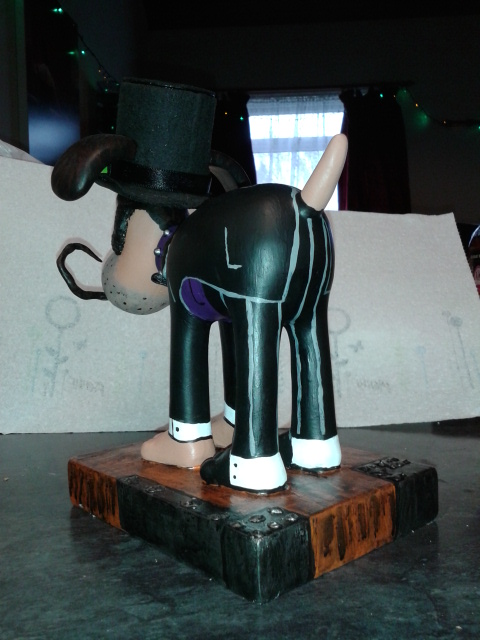
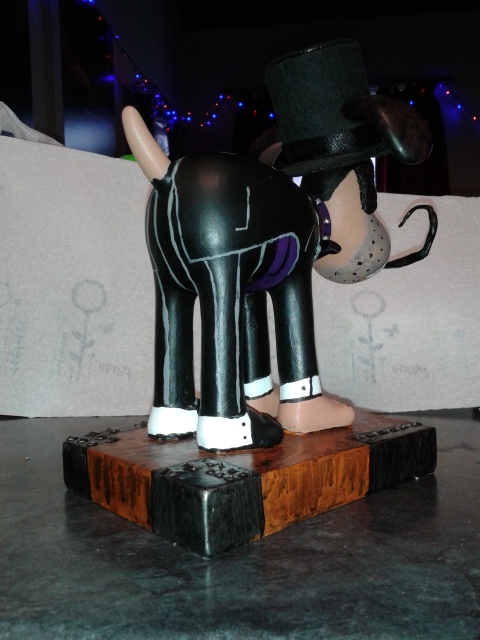
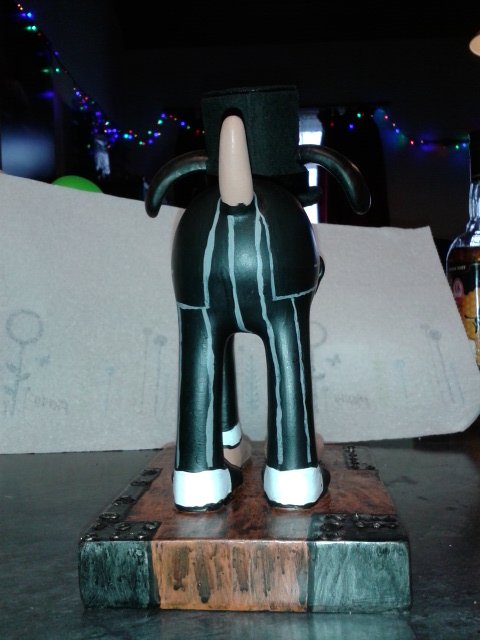
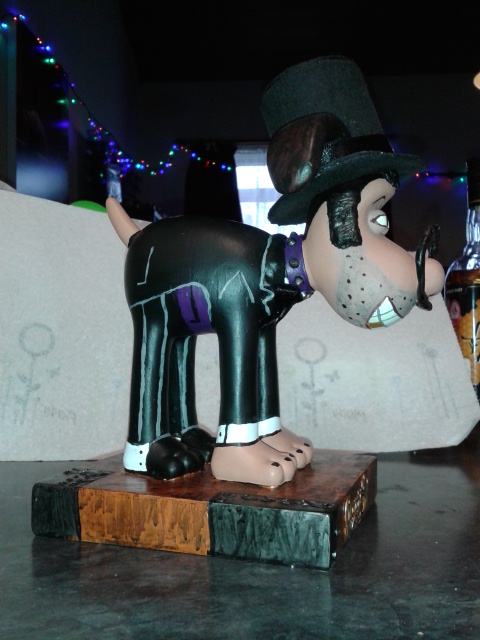
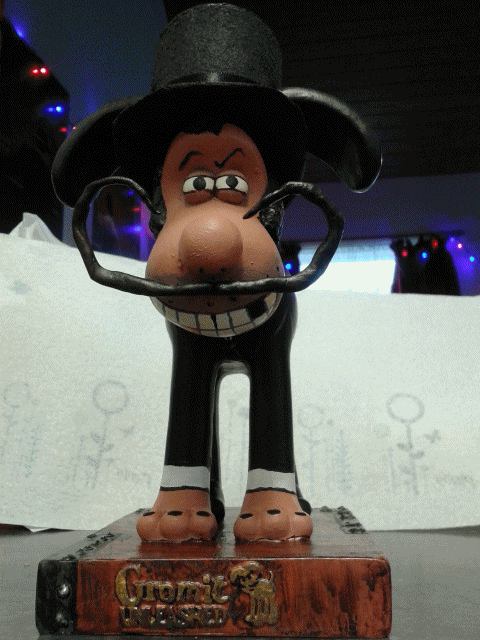
The Finished Model!
By the 22nd December it was complete. I added some “rivets” (some nail heads that had been cut off the nails courtesy of Dad), painted them and that was pretty much it! See below a gallery of final pics, and a few animated gifs I put together.
What do you think of my fun little project? Leave a comment below! You can comment using Facebook, Twitter or Google+!
- I was not impressed with the milliput at all. It’s a two-part play-dough like mixture that is white and cream, and when it is ready to use it turns white so I had no idea if it was mixed properly or not. Even on the final model the milliput hair is a little bit soft in places. I wholly recommend Games Workshop’s Green Stuff, which is an epoxy modelling clay that comes in a blue and yellow strip which turns green when ready to use – much easier to work with! ↩
- I don’t know where I got the idea that a missing tooth = villainy but it’s a notion that’s always been in my head. I can’t find any specific examples of a dastardly villain with a missing tooth, so I’m just going to assume I must have picked it up from elsewhere. Nevertheless, it implies that the person in question isn’t worried about getting their hands dirty and/or they just don’t brush their teeth because they’re evil. ↩
- I was concerned that painting felt black would result in a crumbly texture that peeled off easily. We did a few tests, painting some strips with black paint and black ink for comparison. Although the ink looked alright when first applied, the result when dried was like a grey mush in contrast to the sharp blackness of the painted version. Acrylic paint is surprisingly resilient! ↩
Post by Sean Patrick Payne+ | December 23, 2014 at 2:54 pm | Manchild at Play (Toys), Model Kits and Figurines, Villains | No comment
Tags: Dick Dastardly, Dick Dogstardly, Gromit Unleashed, modelling, Professor Fate, Snidely Whiplash, Terry Thomas, Wallace and Gromit